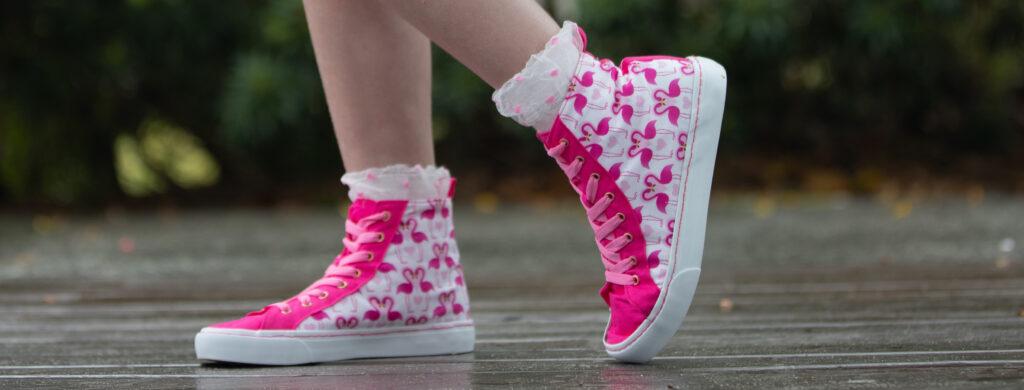
This step by step tutorial will show you how to take a pair of cheap shoes, pull it apart and make your own.
Here I took a cheap pair of $11 kmart high tops and transformed them into the pink love bird shoes.
Materials Needed:


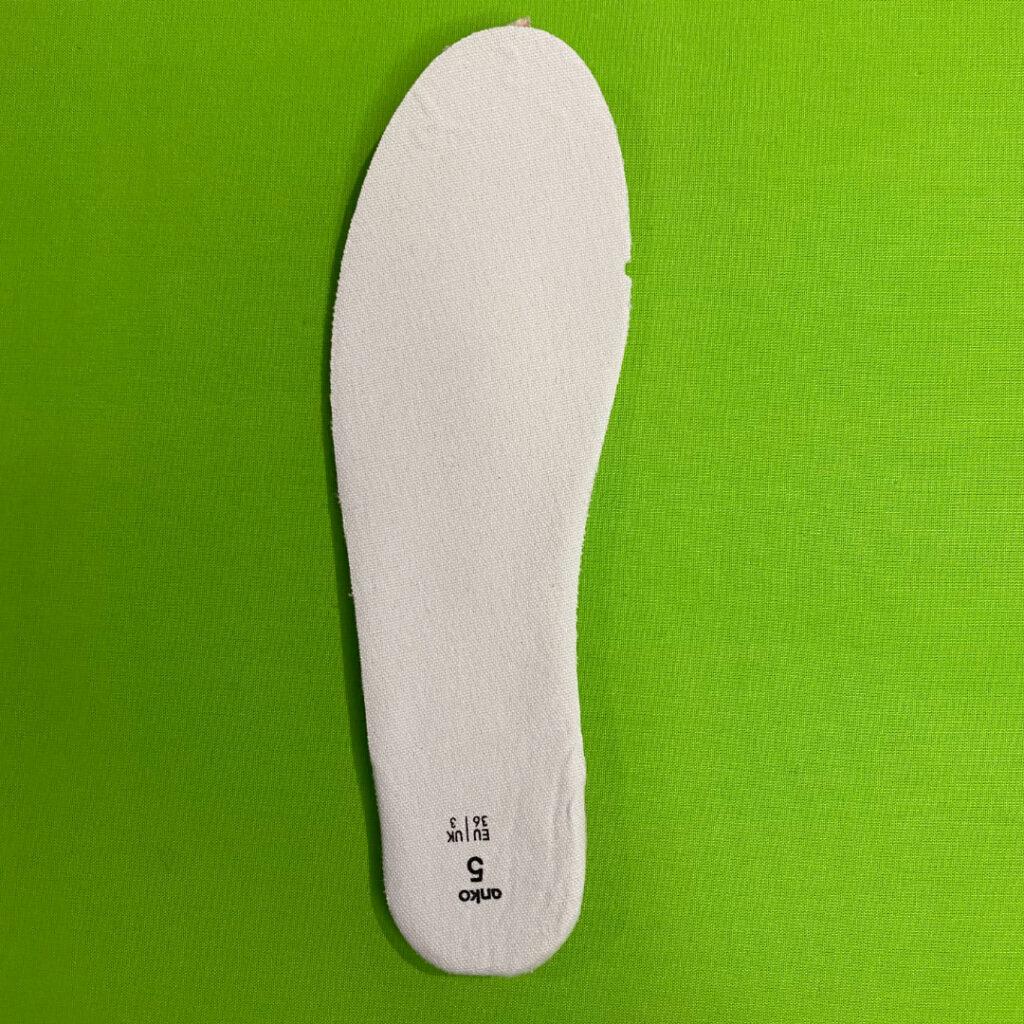
STEP 2 – REMOVING THE INSOLE


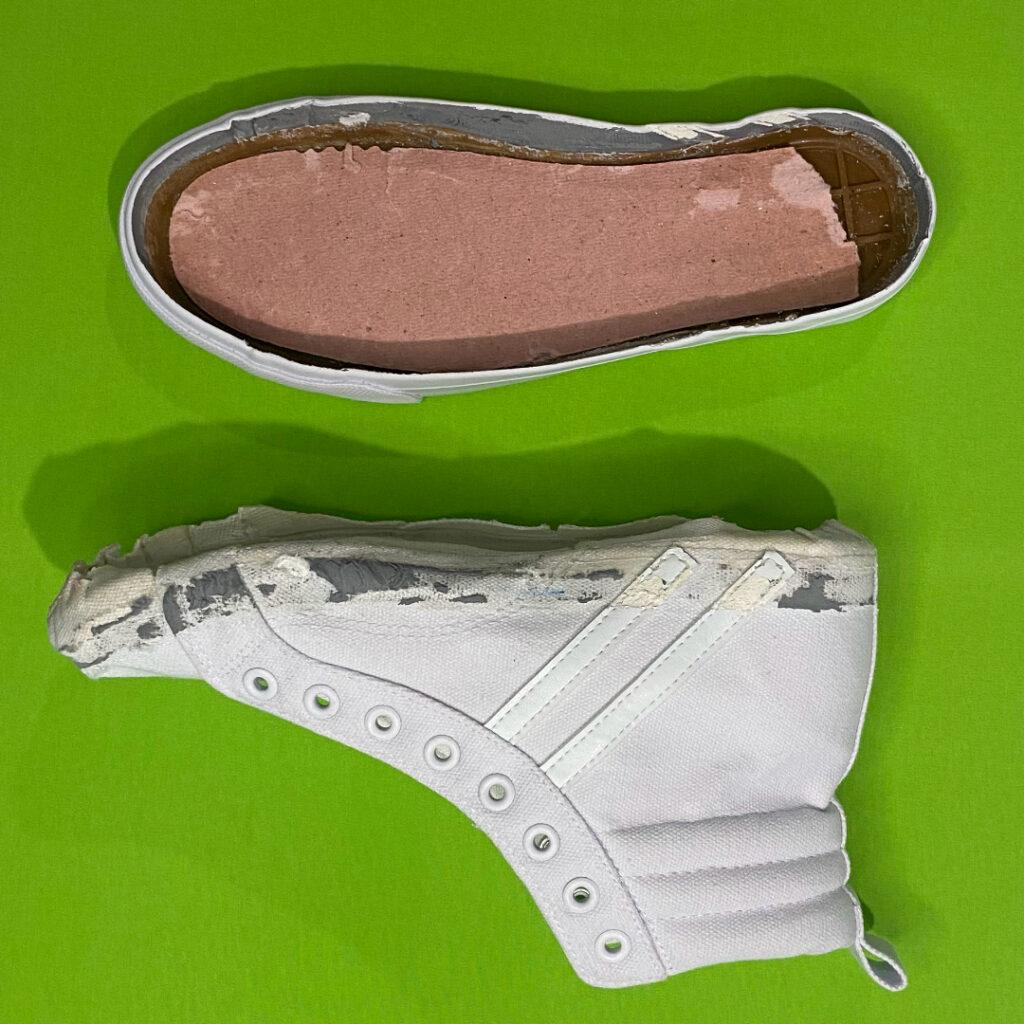
STEP 3 – REMOVING THE SOLE


Note: I tried heating the glue with a hair dryer and did not find that it made the process any easier.

STEP 4 – MAKING THE PATTERN

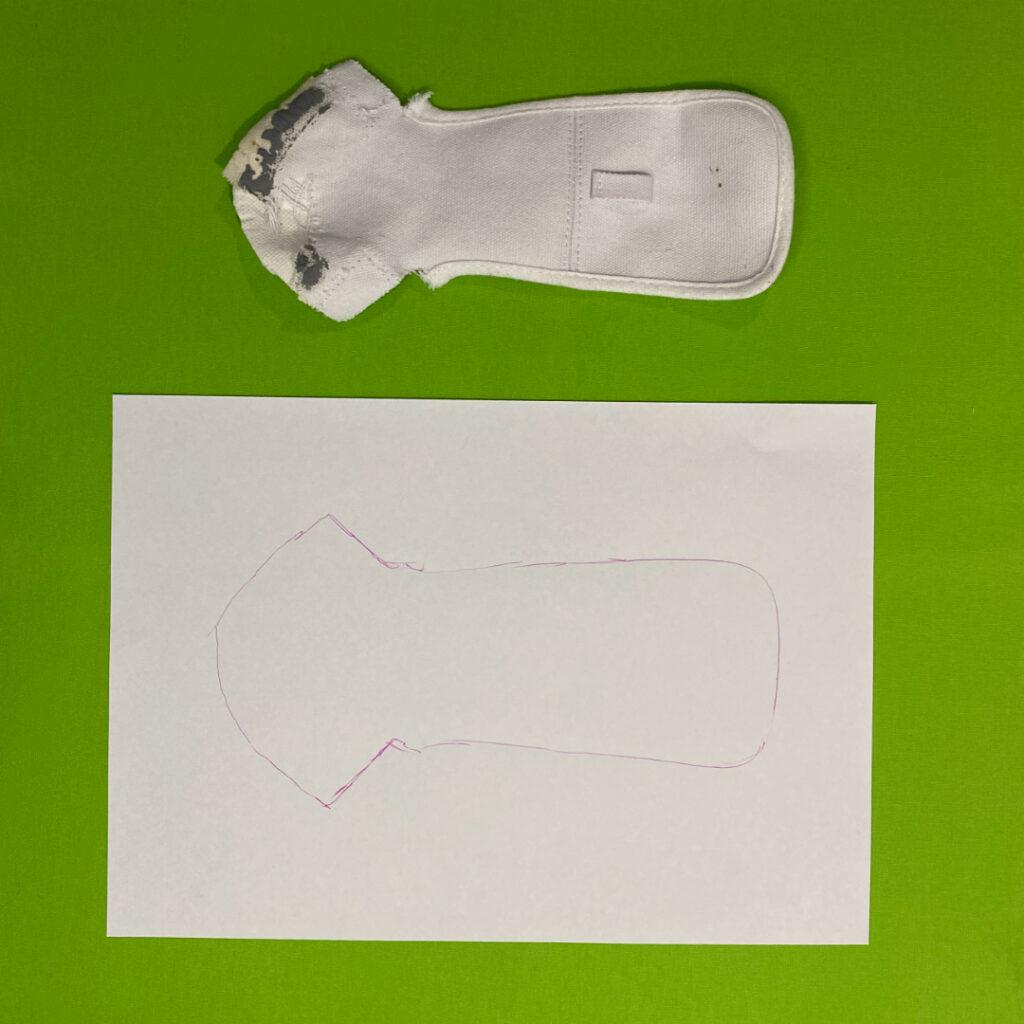
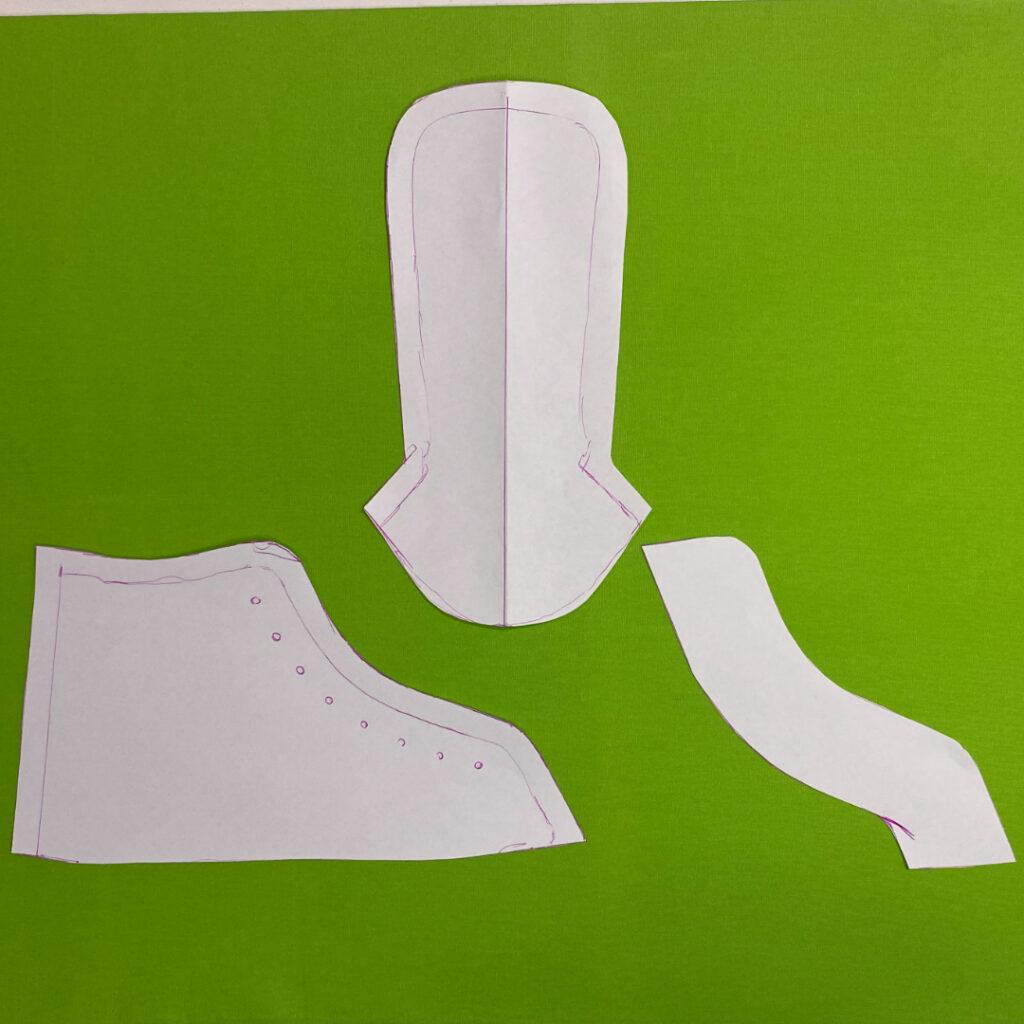
STEP 5 – TONGUE PATTERN

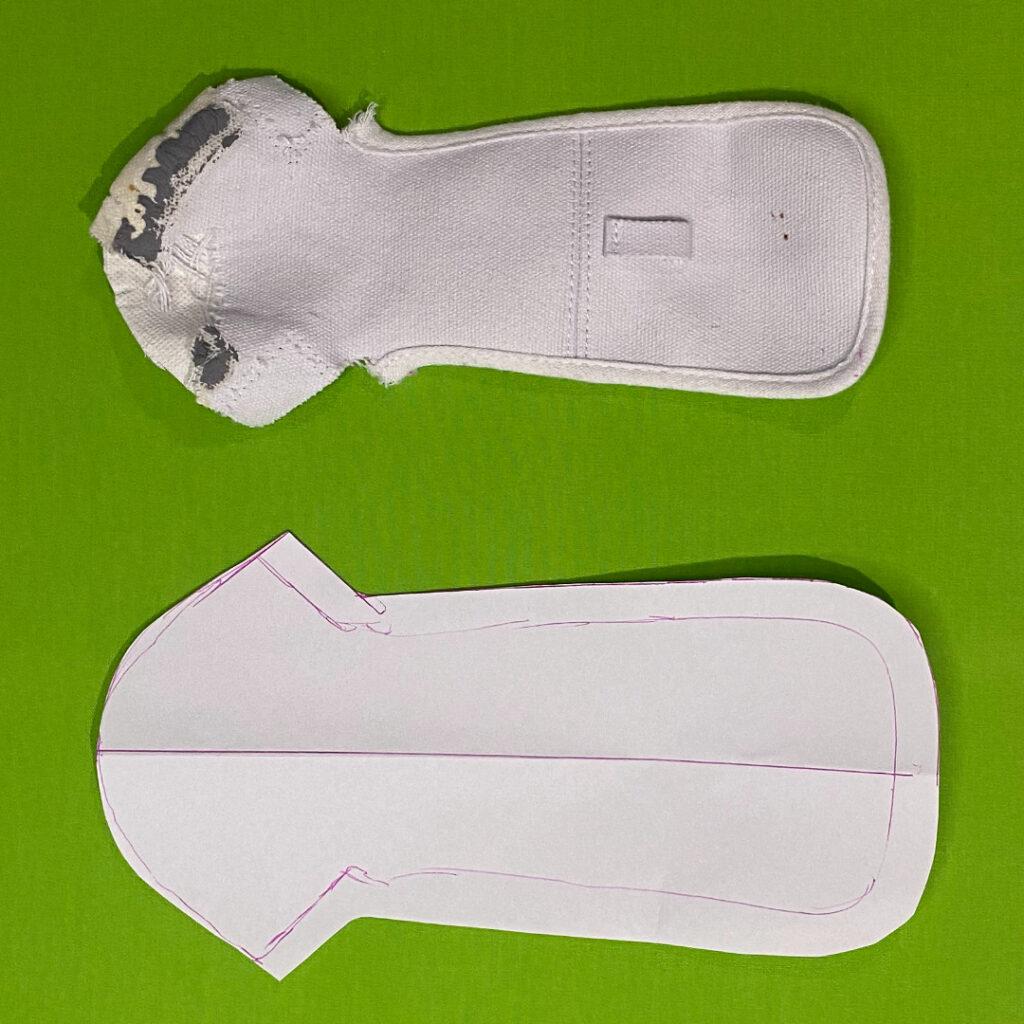
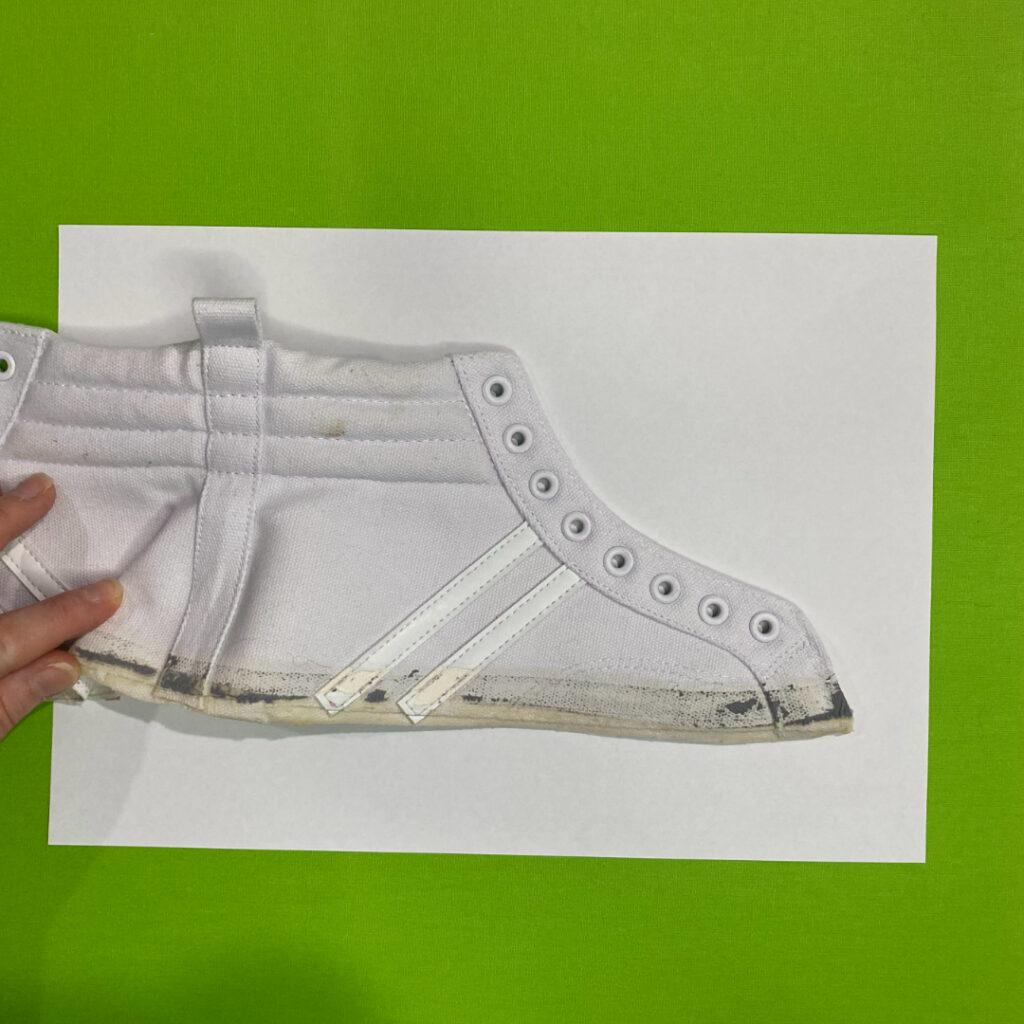
STEP 6 – SHOE SIDE PATTERN
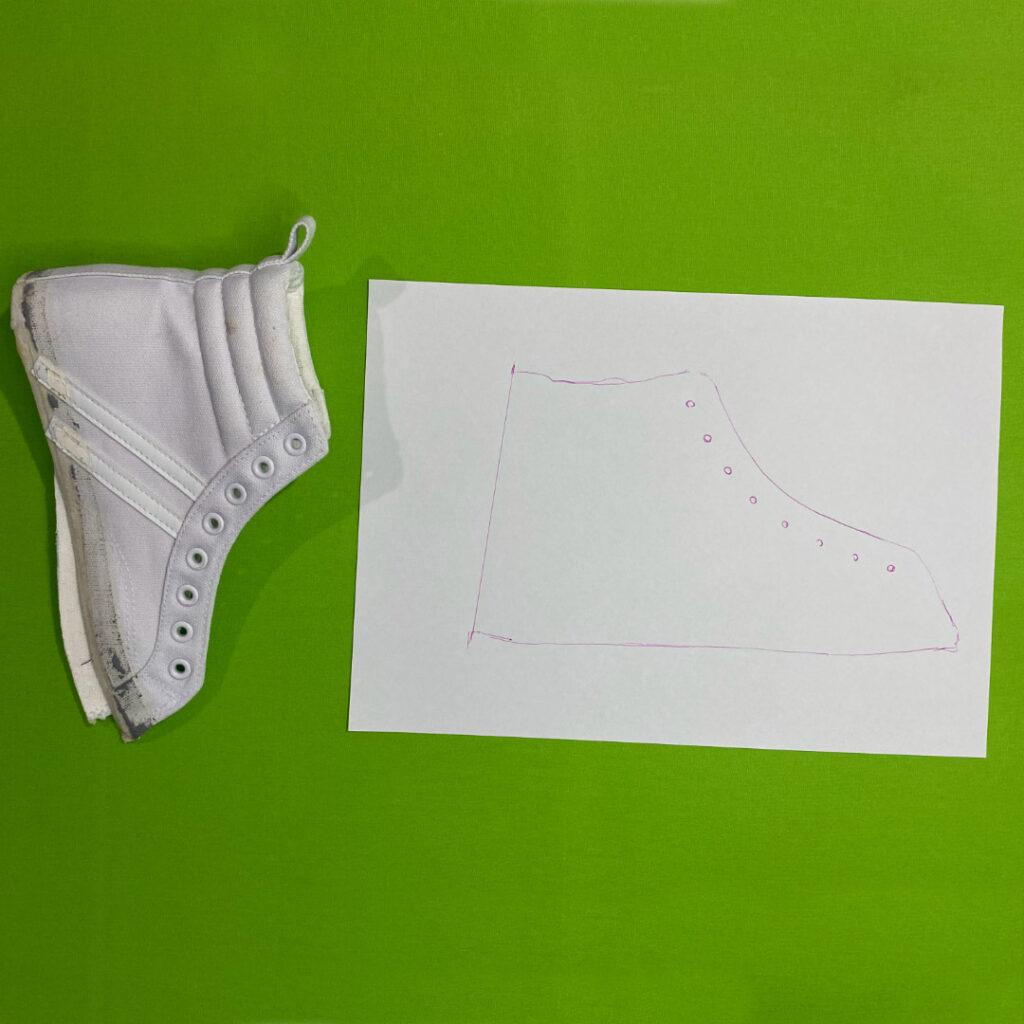
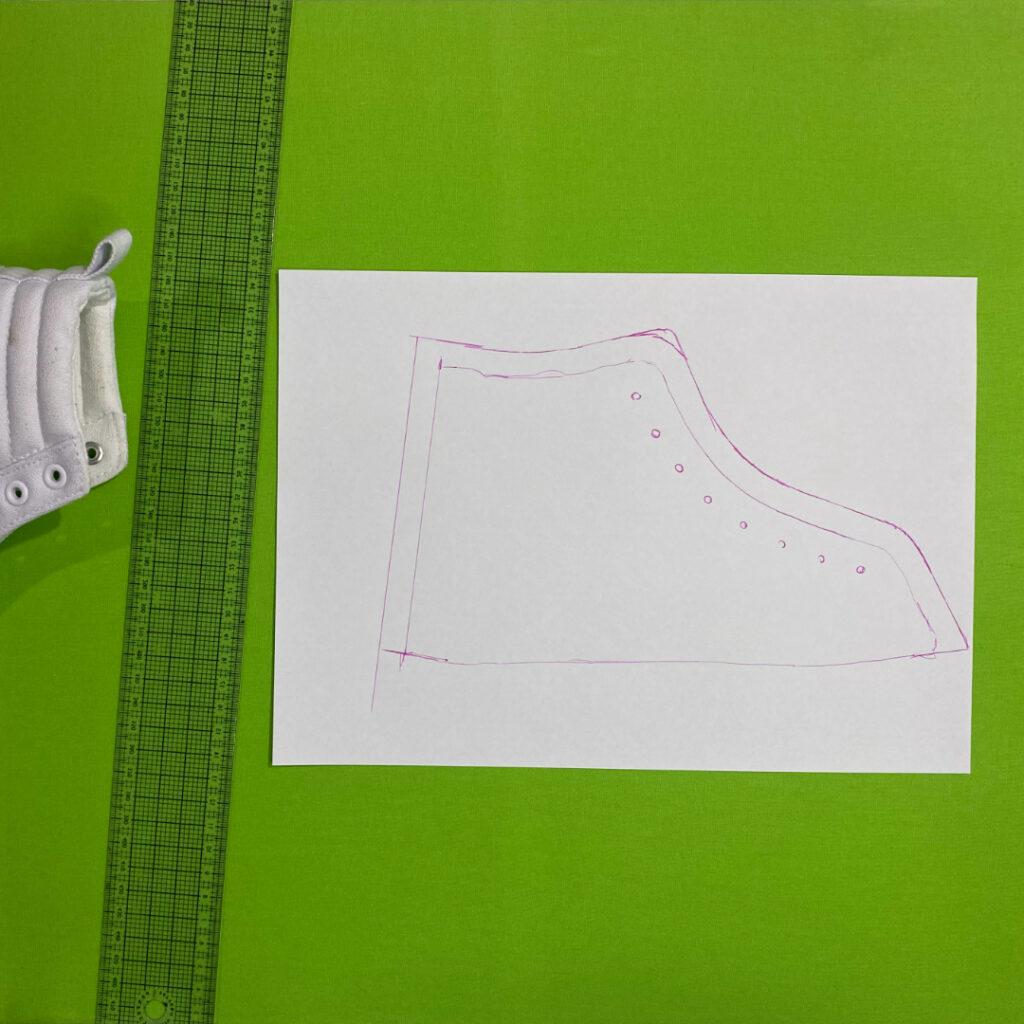
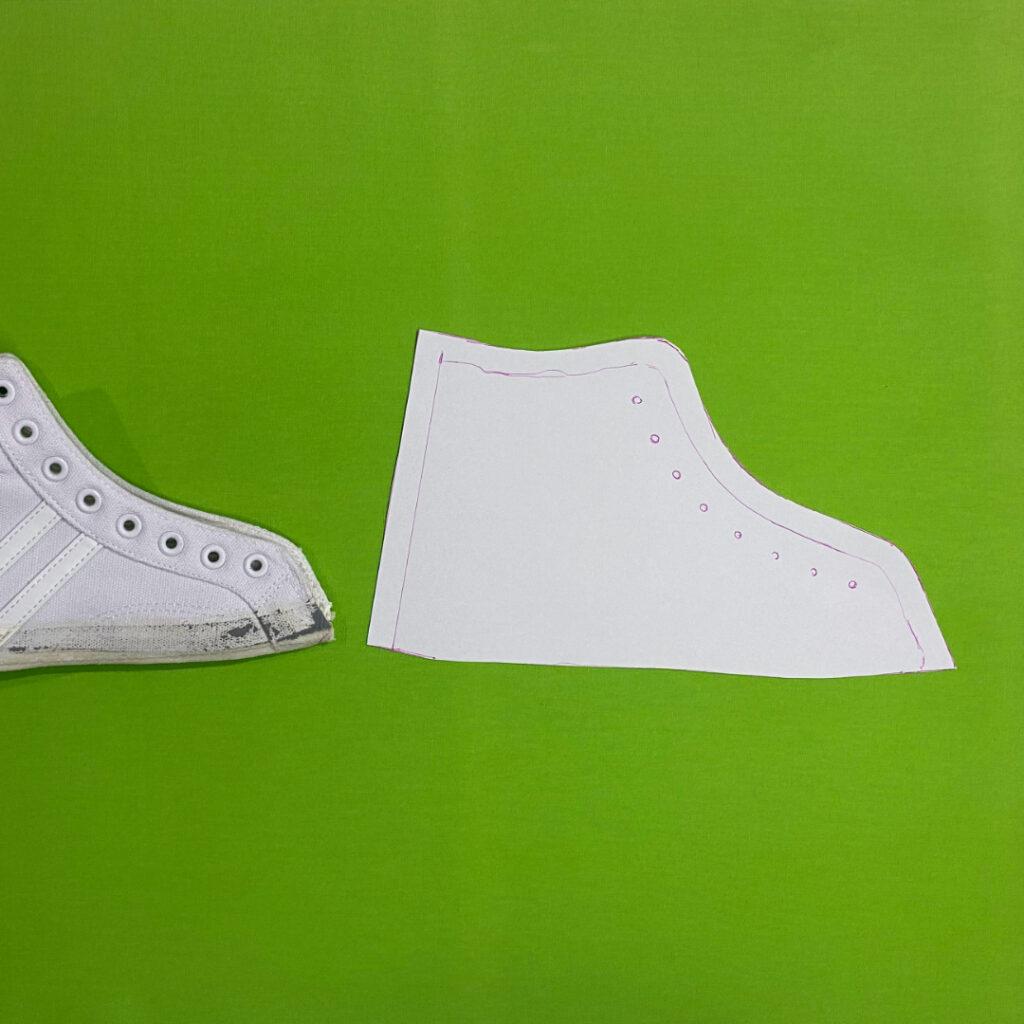
STEP 7 – EYESTAY PATTERN
To make the last pattern piece, which will provide extra support for the eyelets, follow these steps:
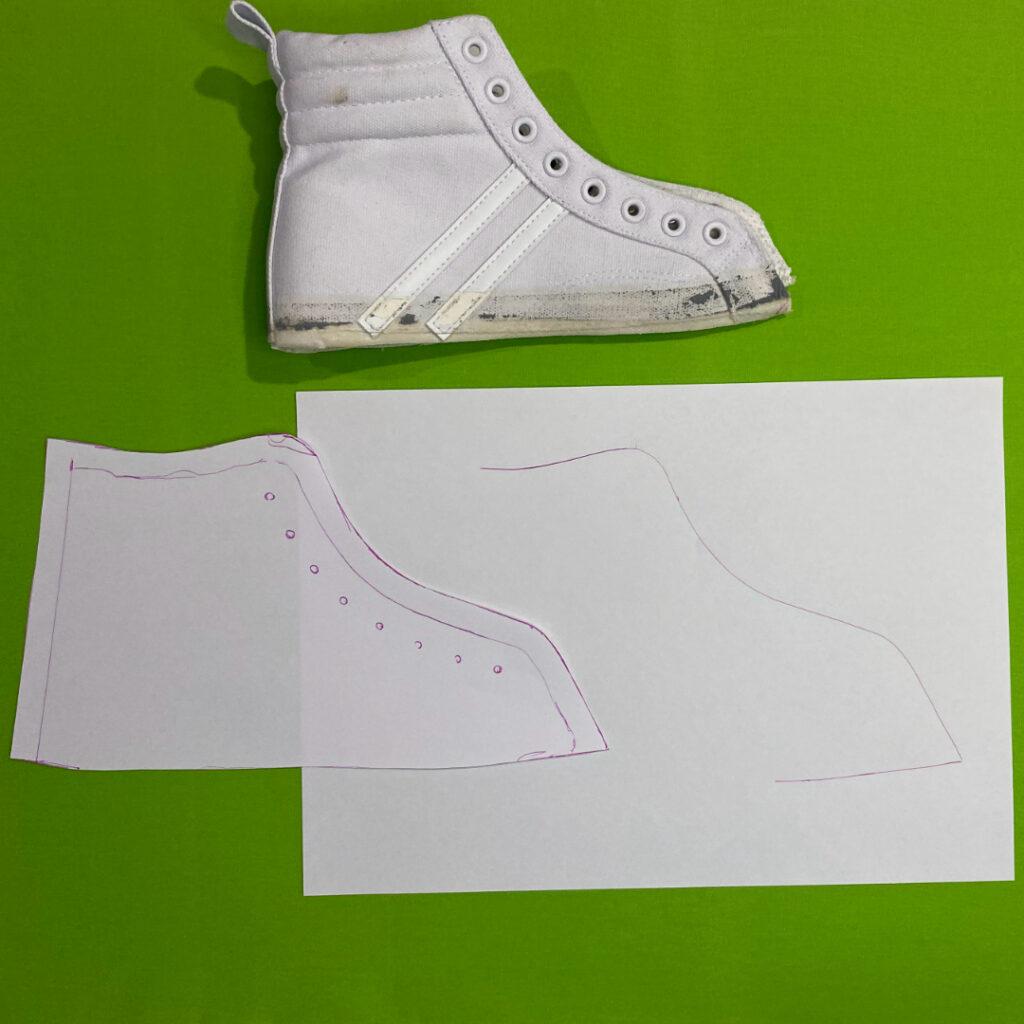

You have now successfully completed the pattern for your custom pair of shoes!
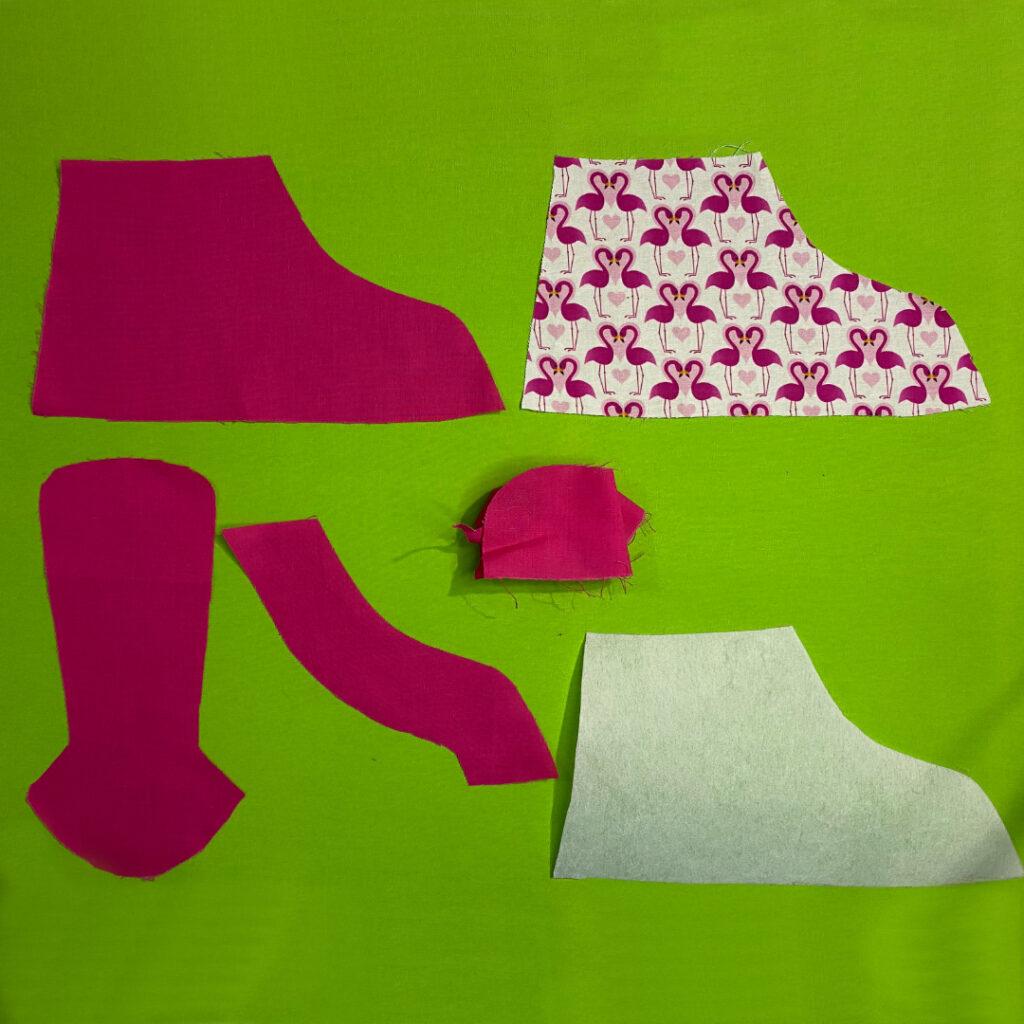
STEP 8 – CUT OUT YOUR MATERIALS
To make 2 pairs of shoes you need
FABRIC
4 x Eyestay Piece (Mirrored)
2 x Tongue Piece
4 x Shoe Side Piece (Mirrored)
LINING
2 x Tongue Piece
4 x Shoe Side Piece (Mirrored)
INTERFACING
2 x Tongue Piece
4 x Shoe Side Piece (Mirrored)
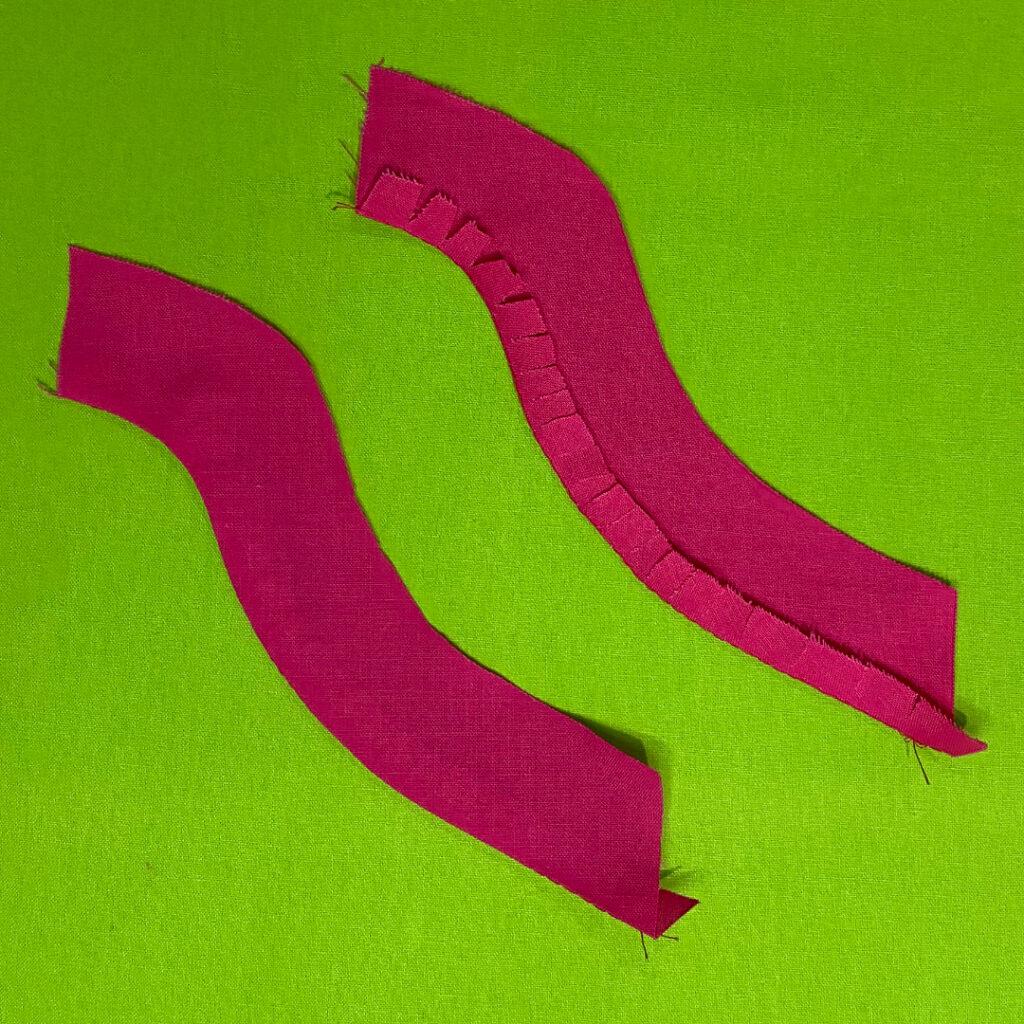
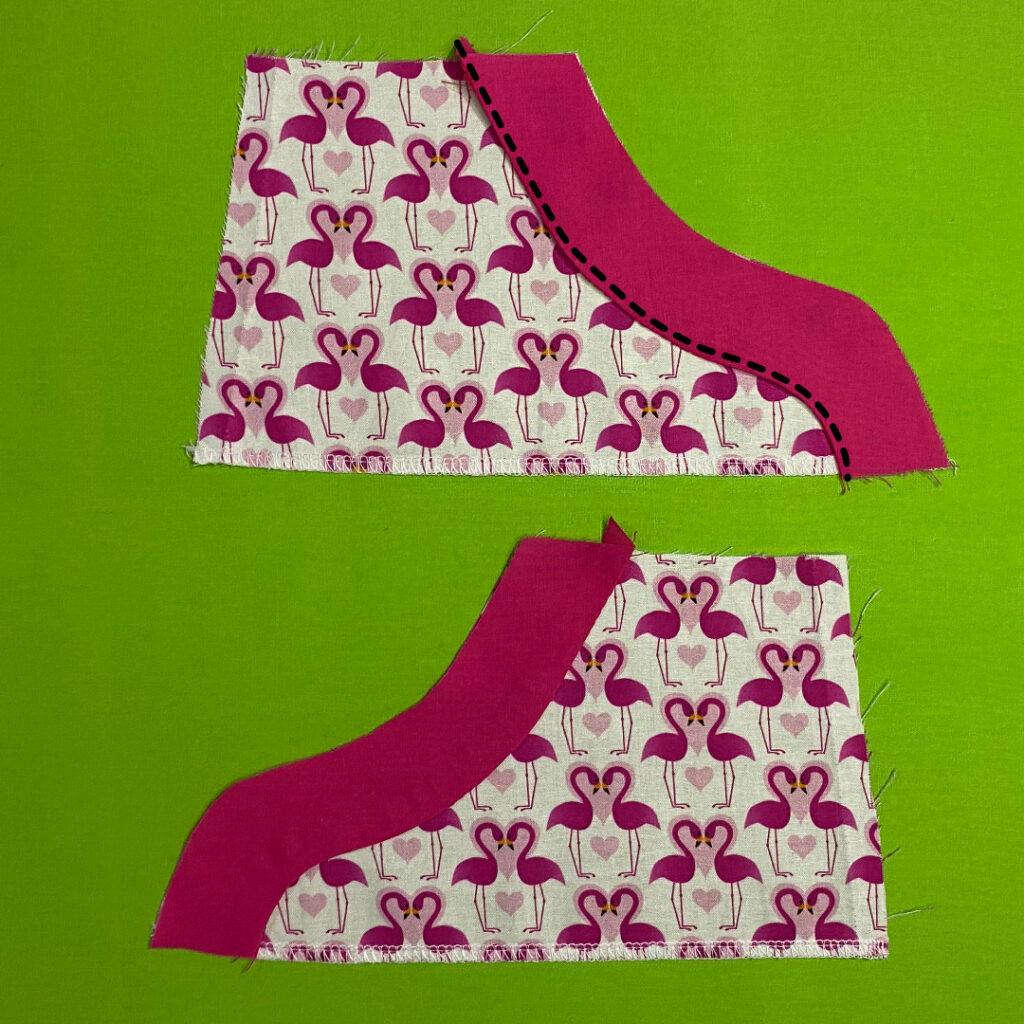
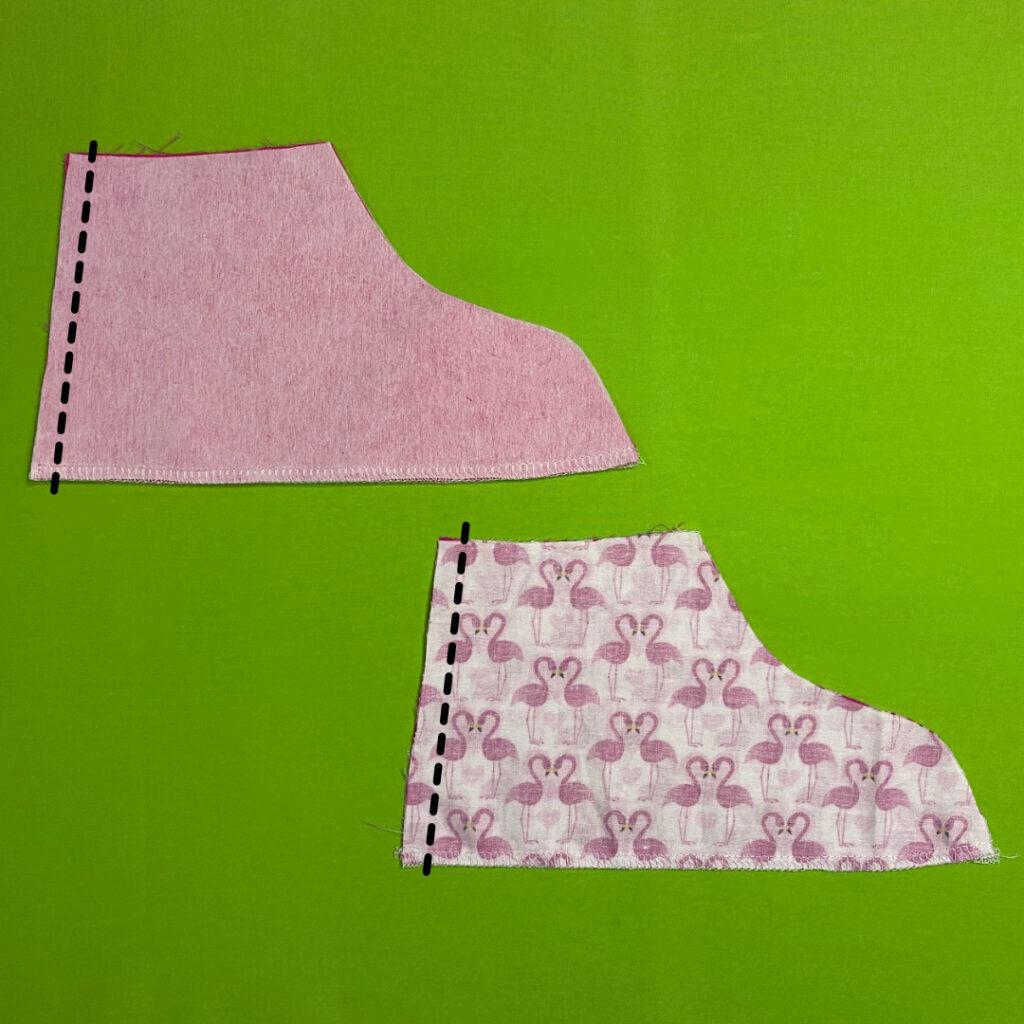
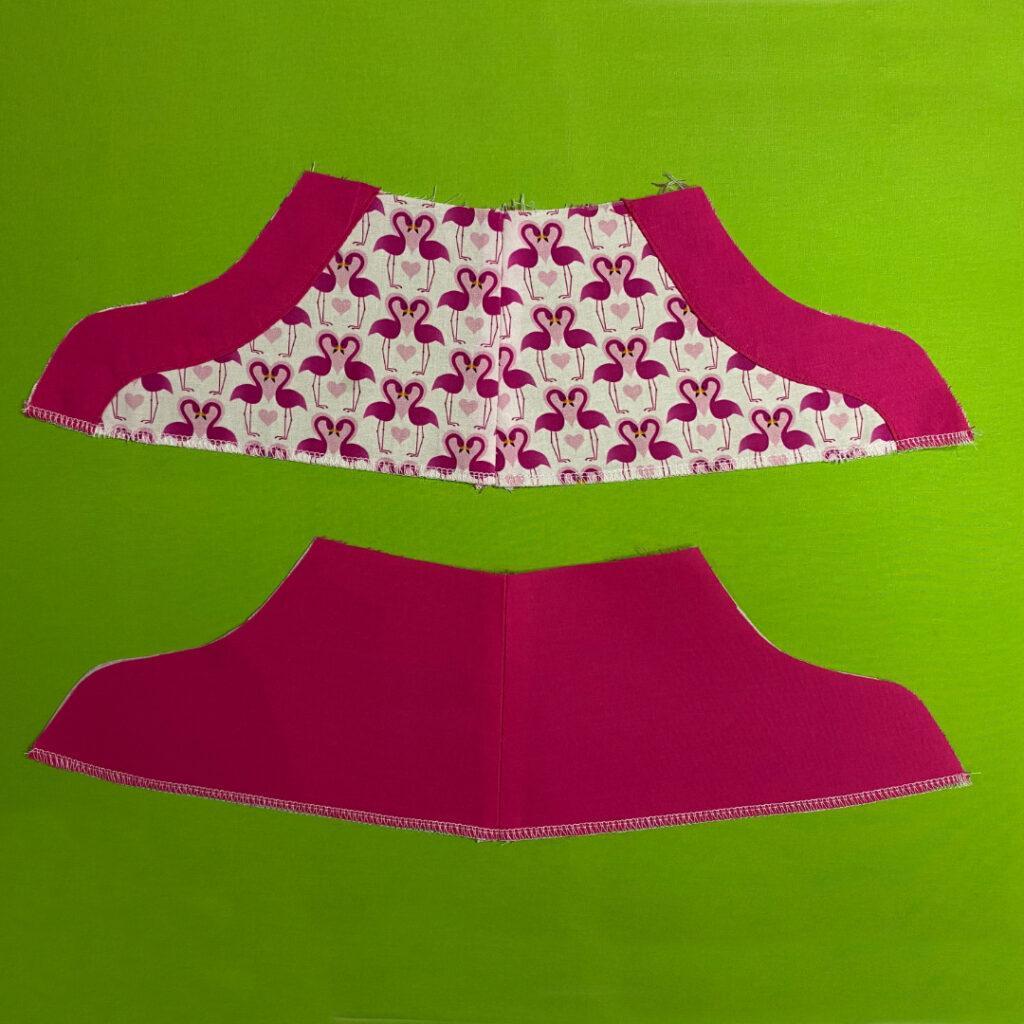
STEP 9 – SEW EYESTAY
Stitch along the bottom edge of your eyestay piece at 1cm (3/8′).

STEP 10 – SEW SHOE SIDE
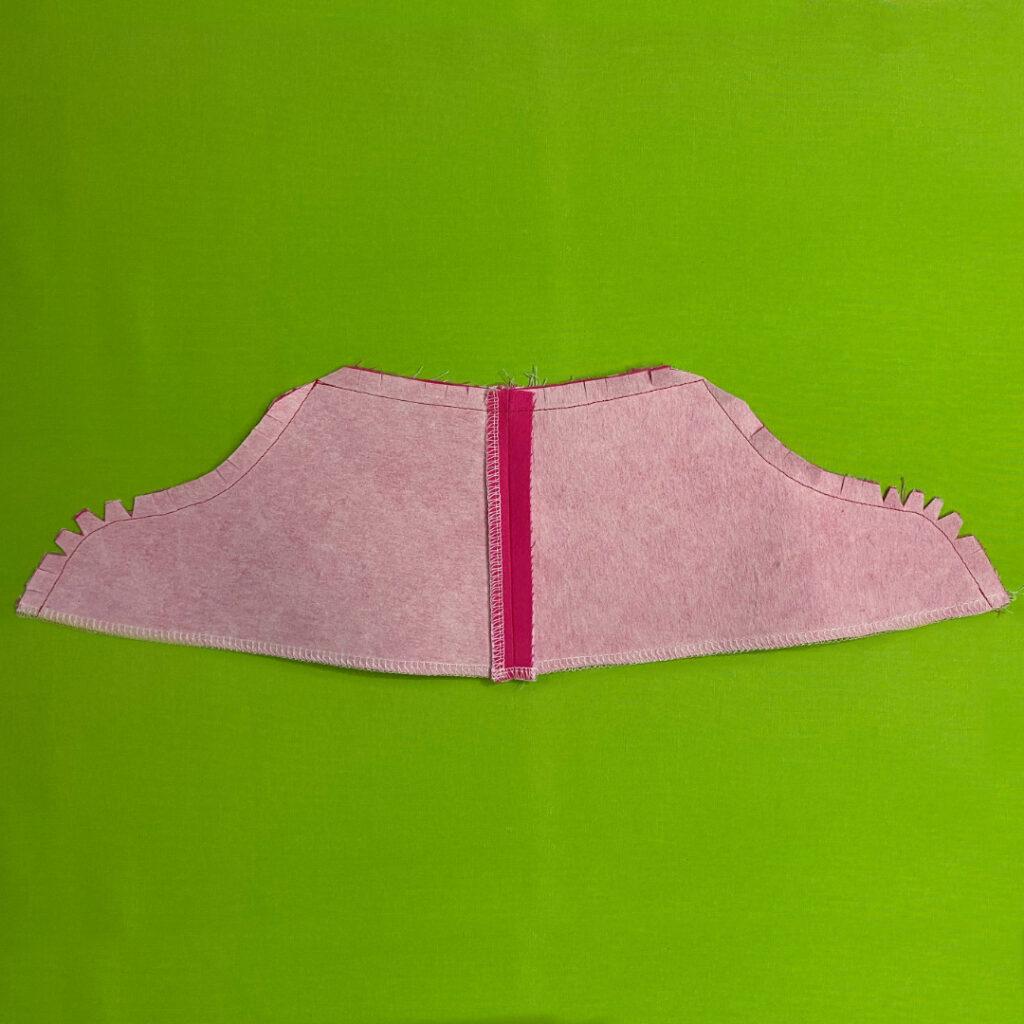
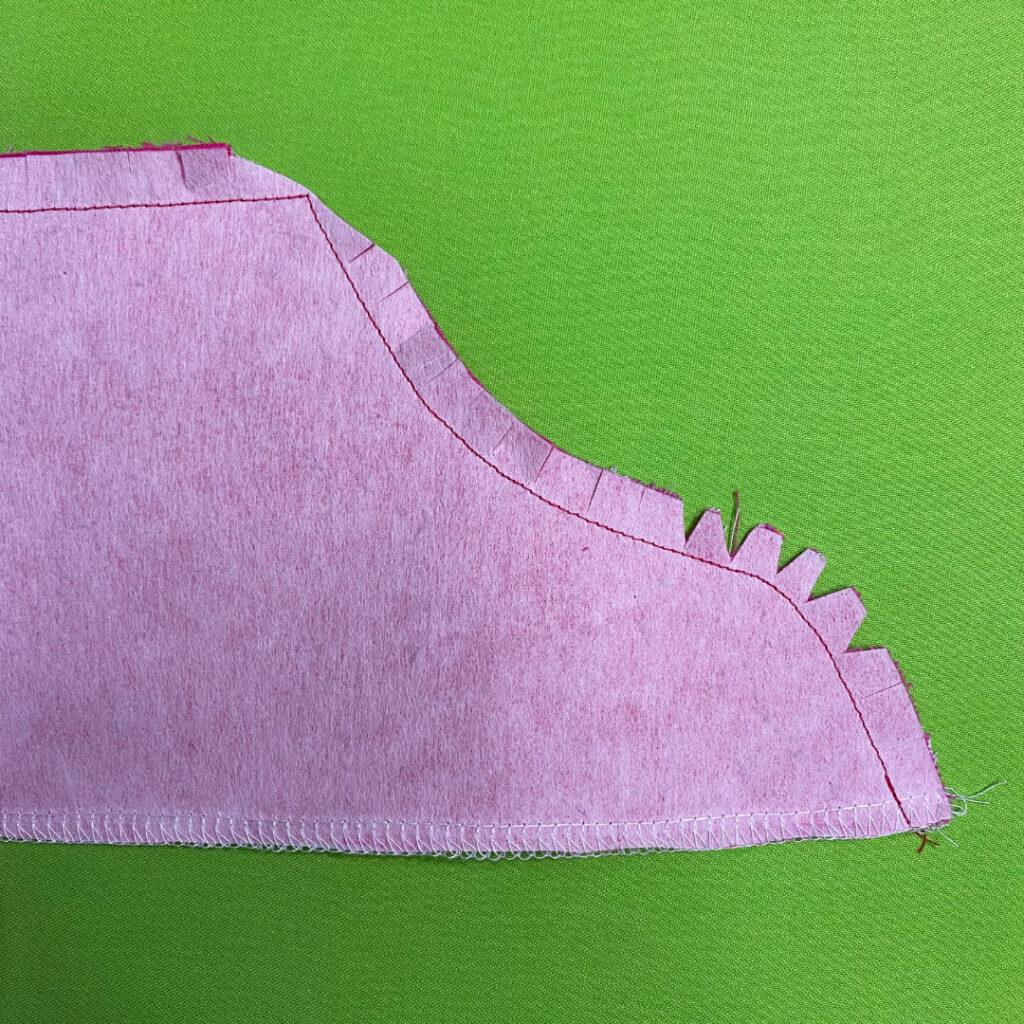
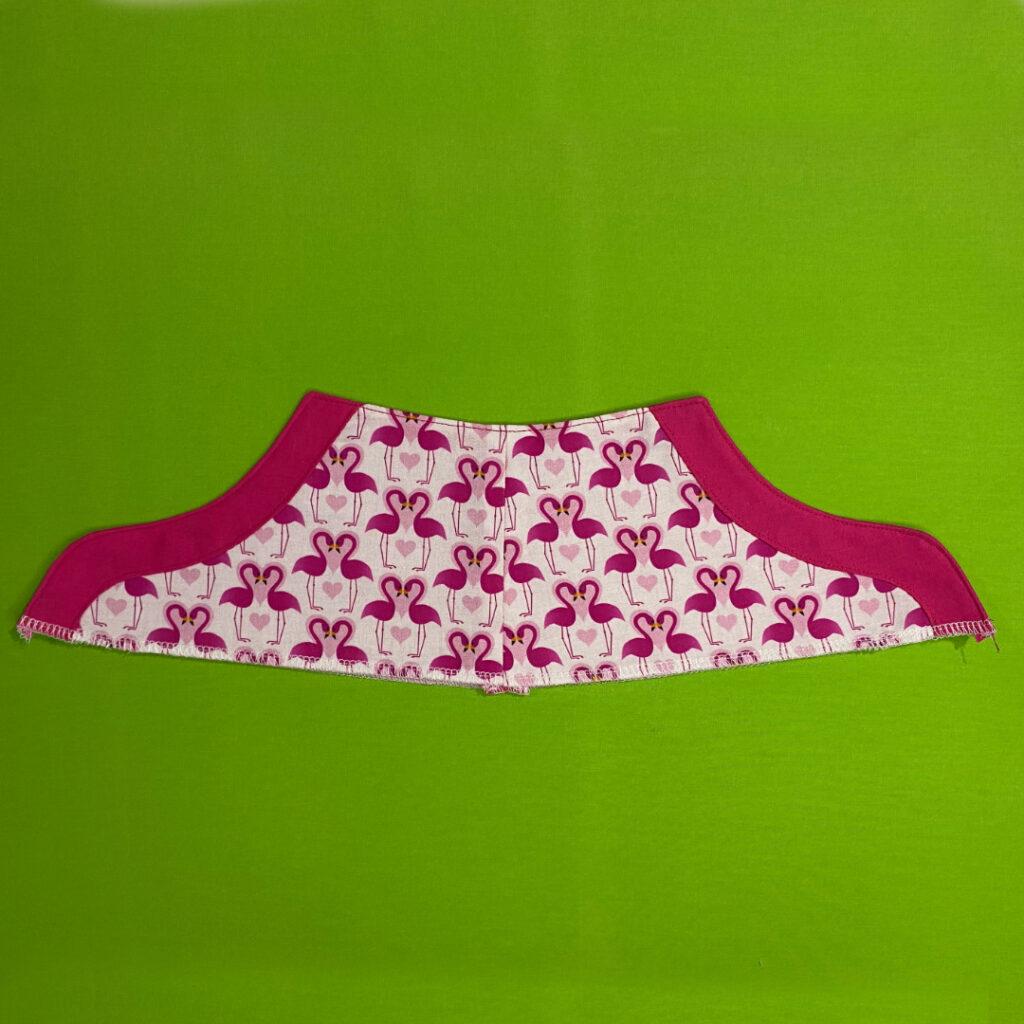
STEP 11 – EYELETS
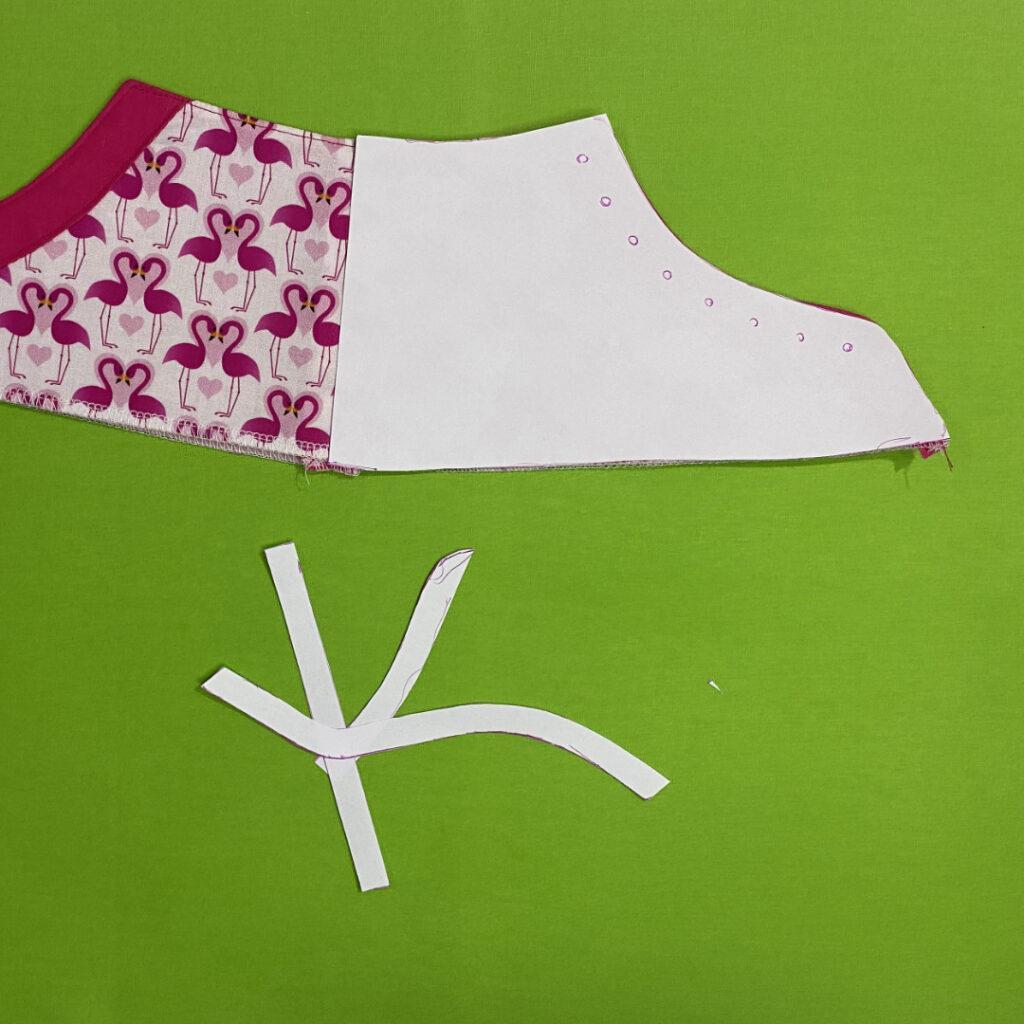
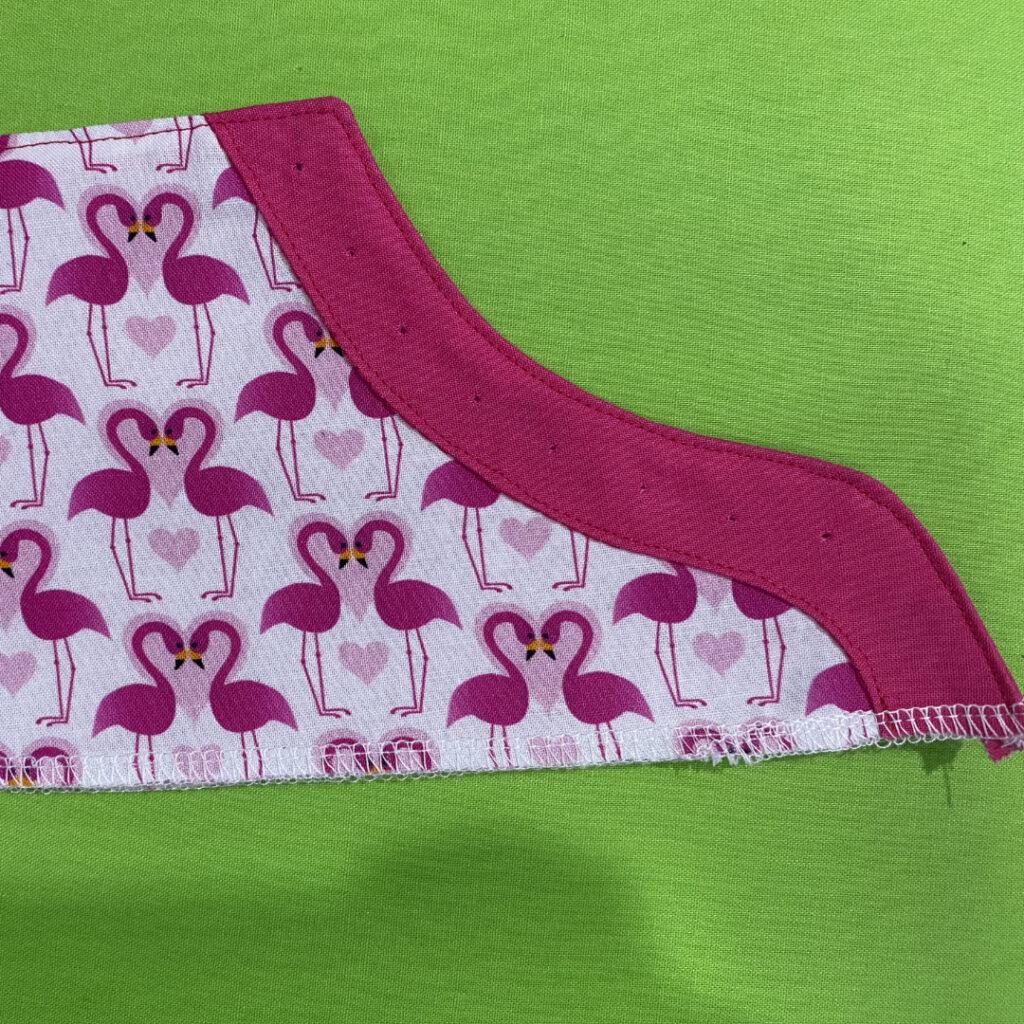
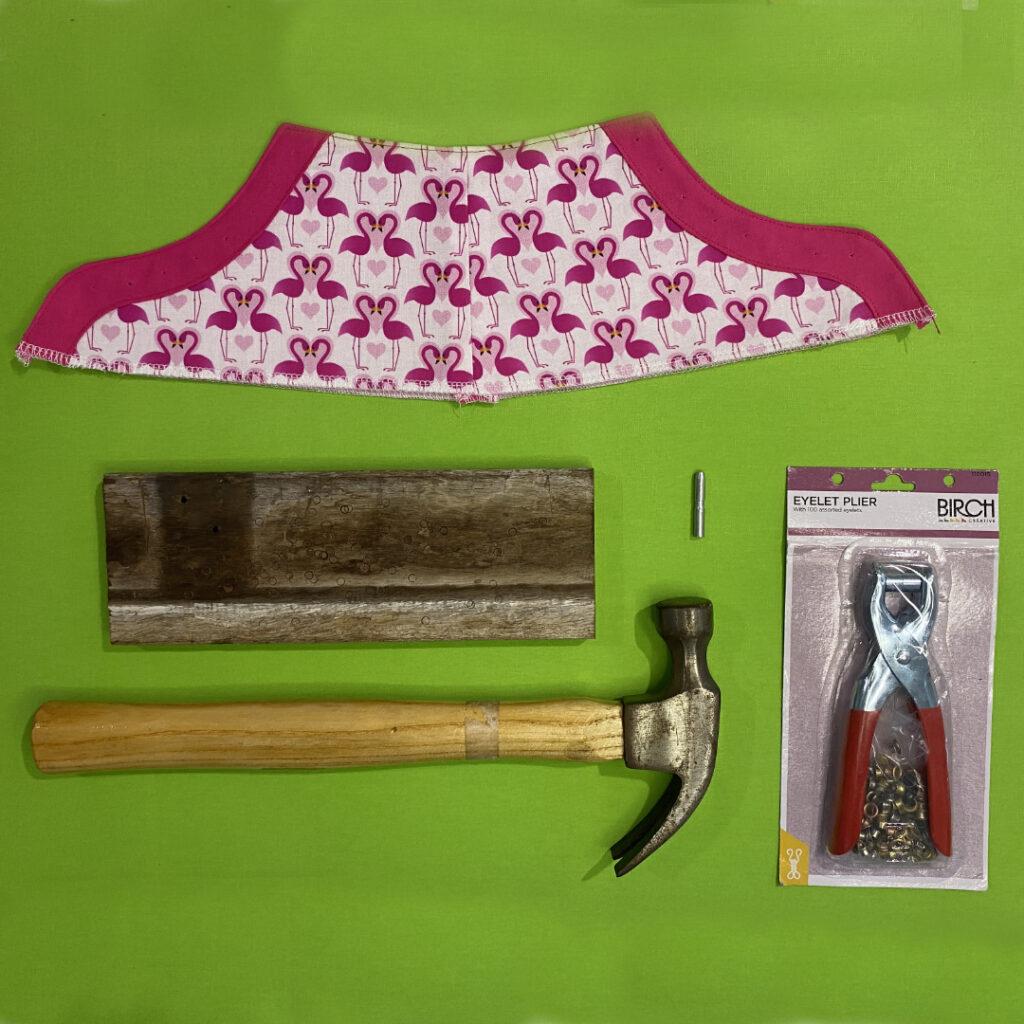
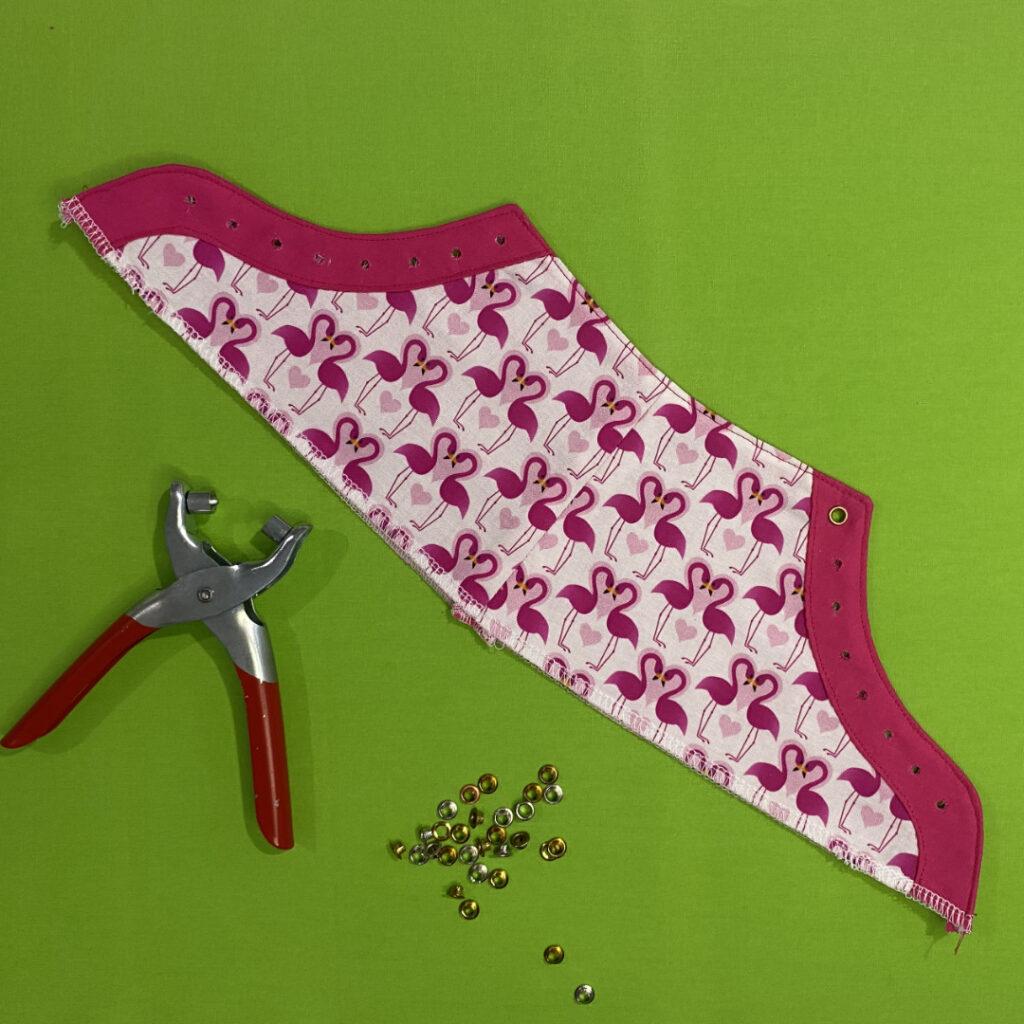
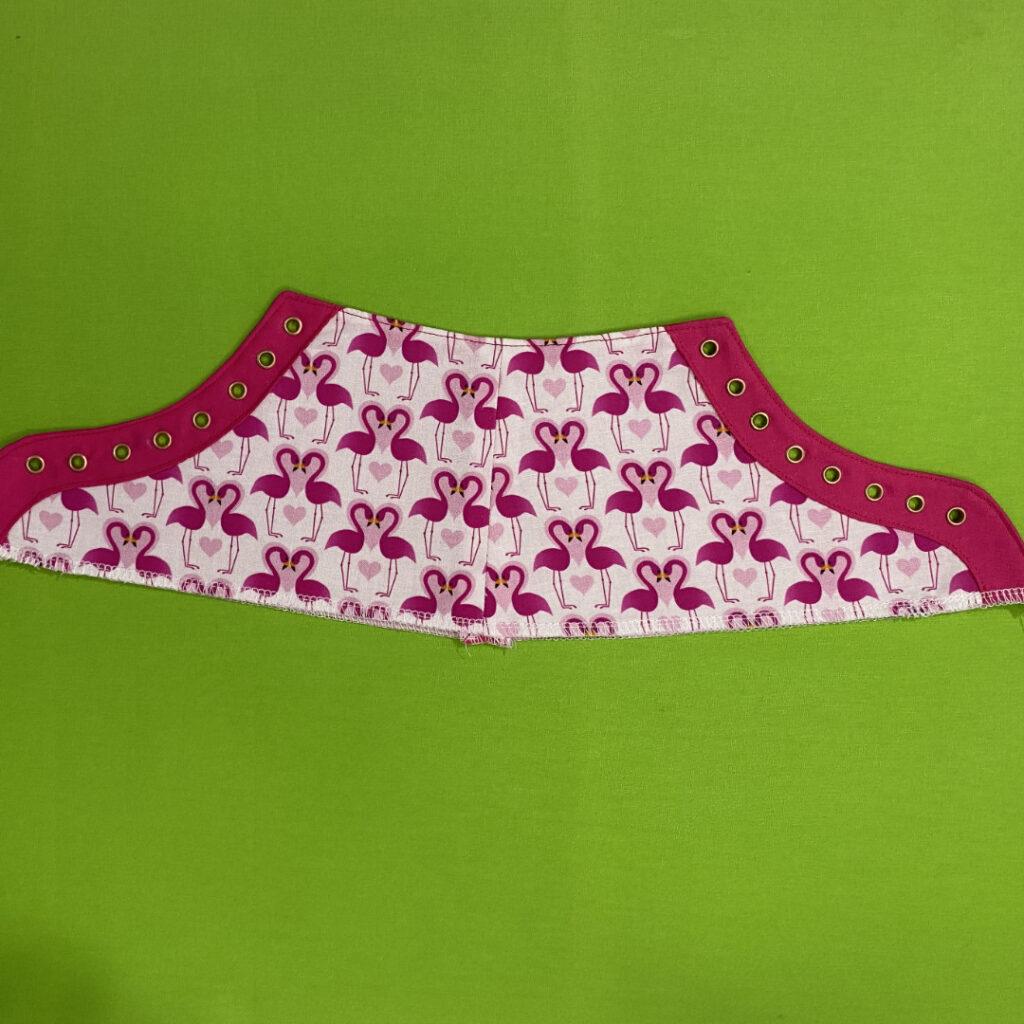
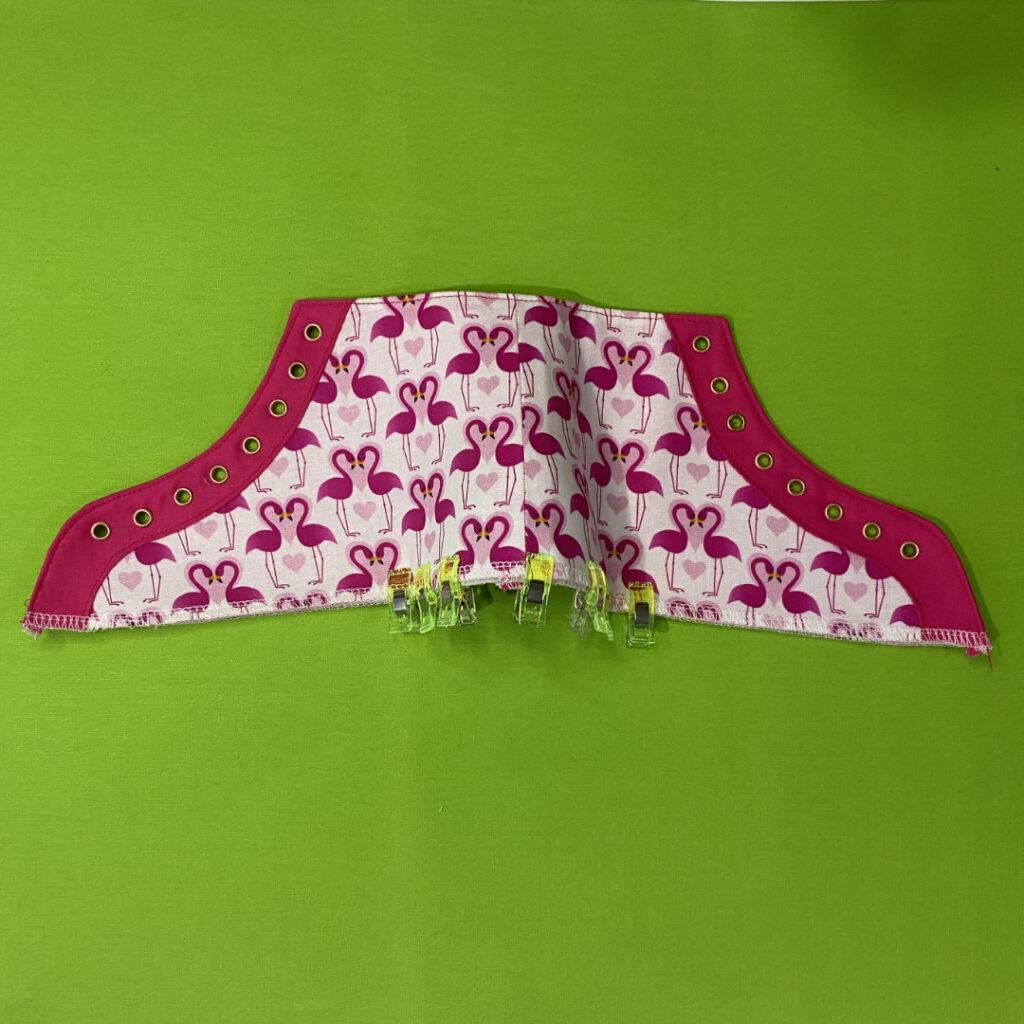
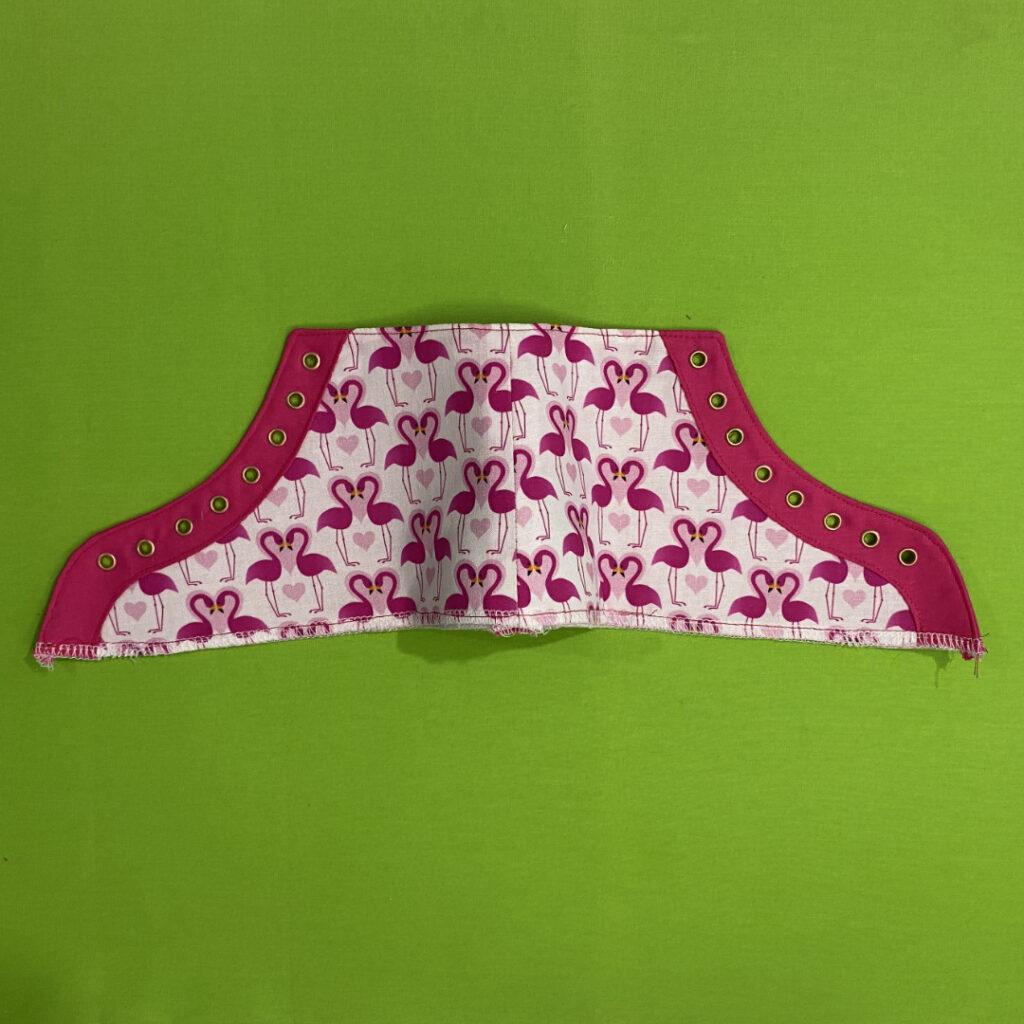
STEP 12 – HEEL CAPS
In this step, the decision to use the heel cap is optional. The heel cap provides stability and shape to the new shoes, but handstitching it to the sole can be challenging.

STEP – 13 – HEEL TAB
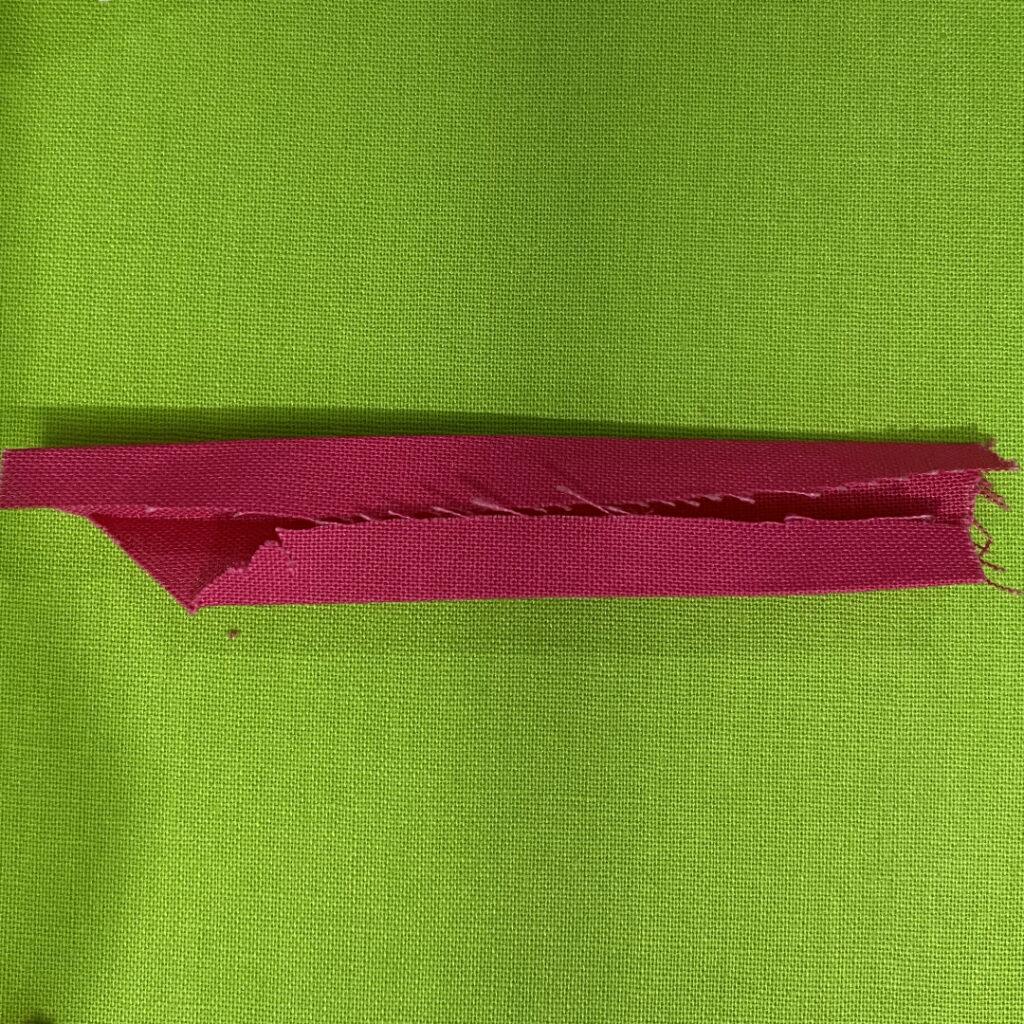
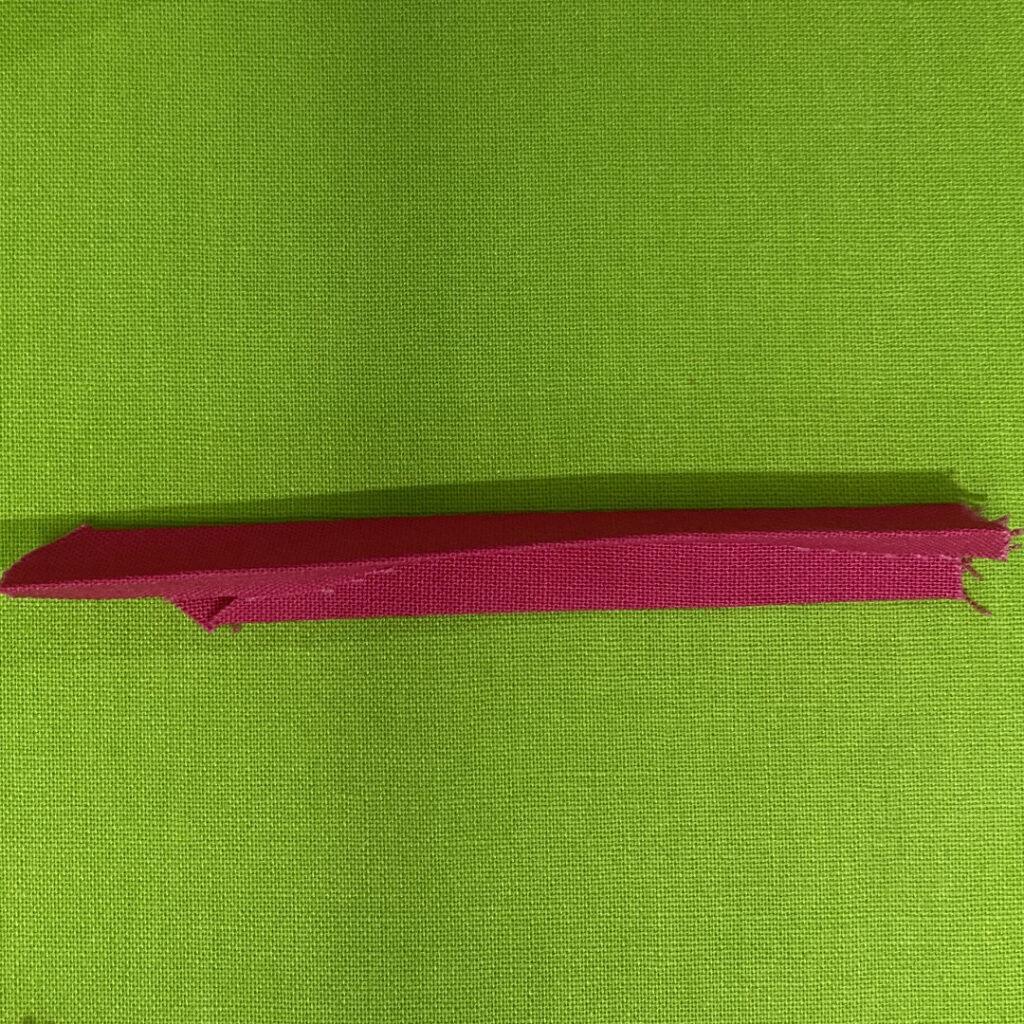
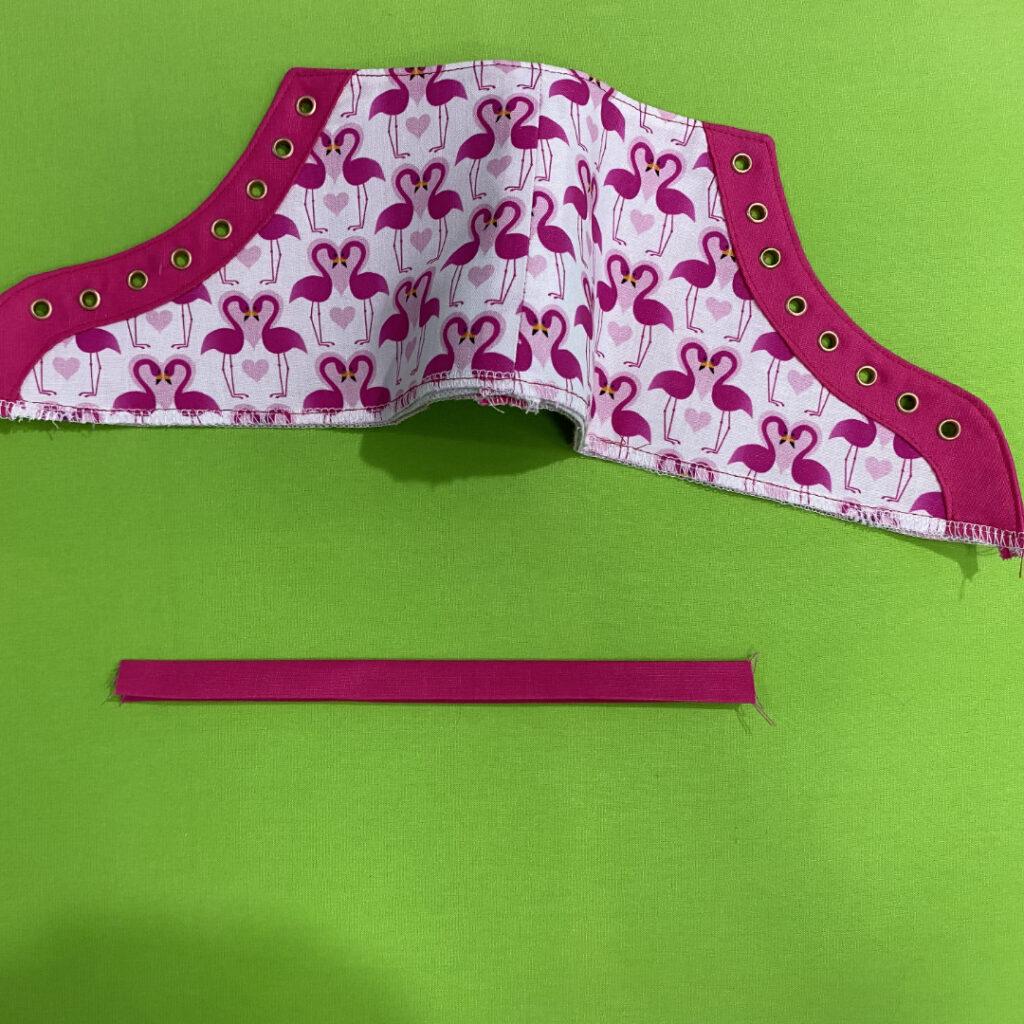
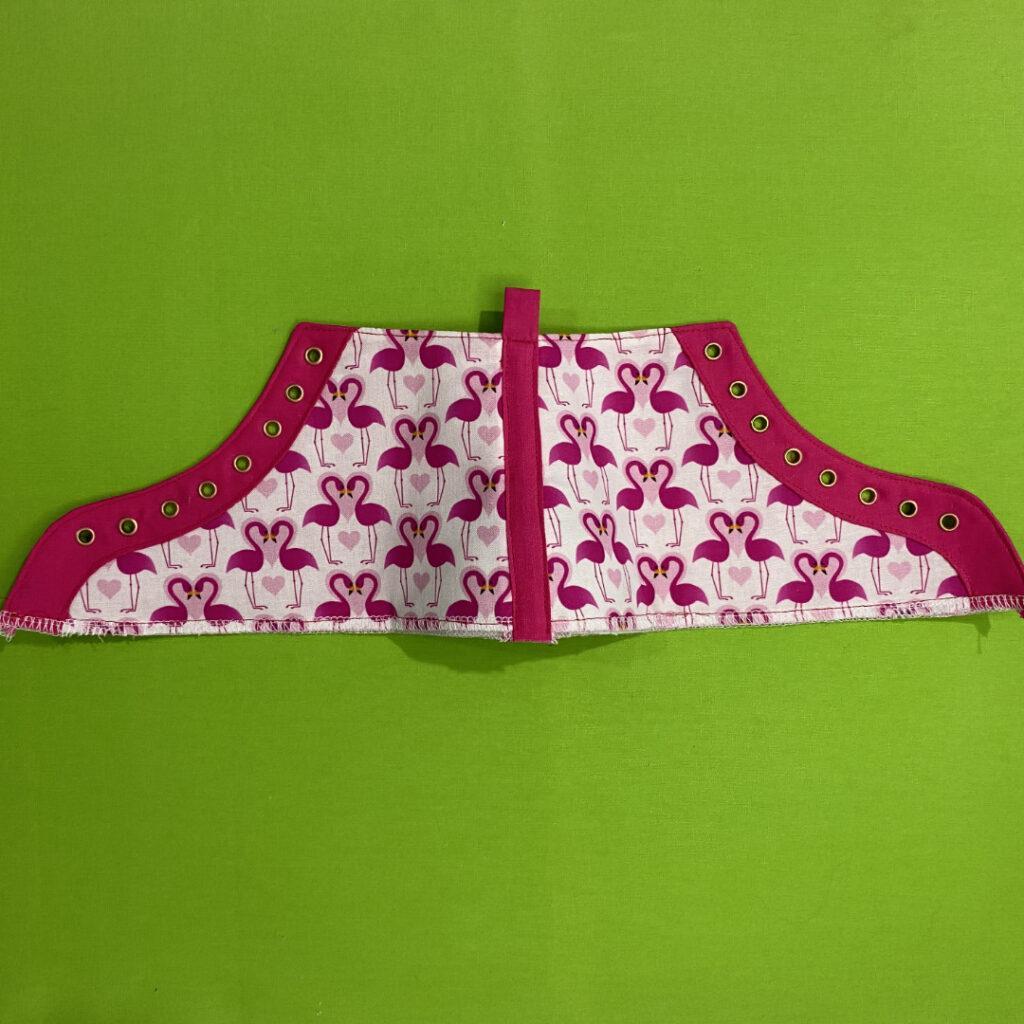
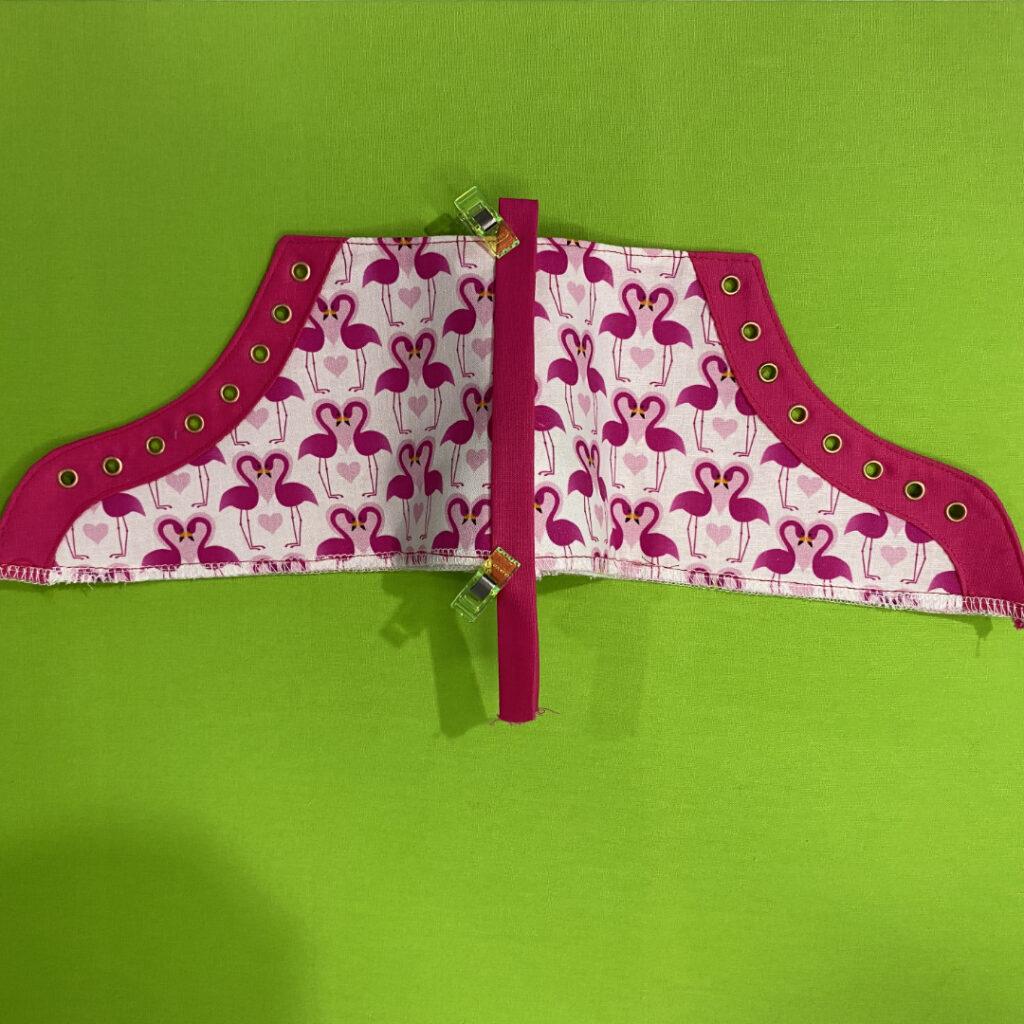
STEP 14 – SEW TONGUE
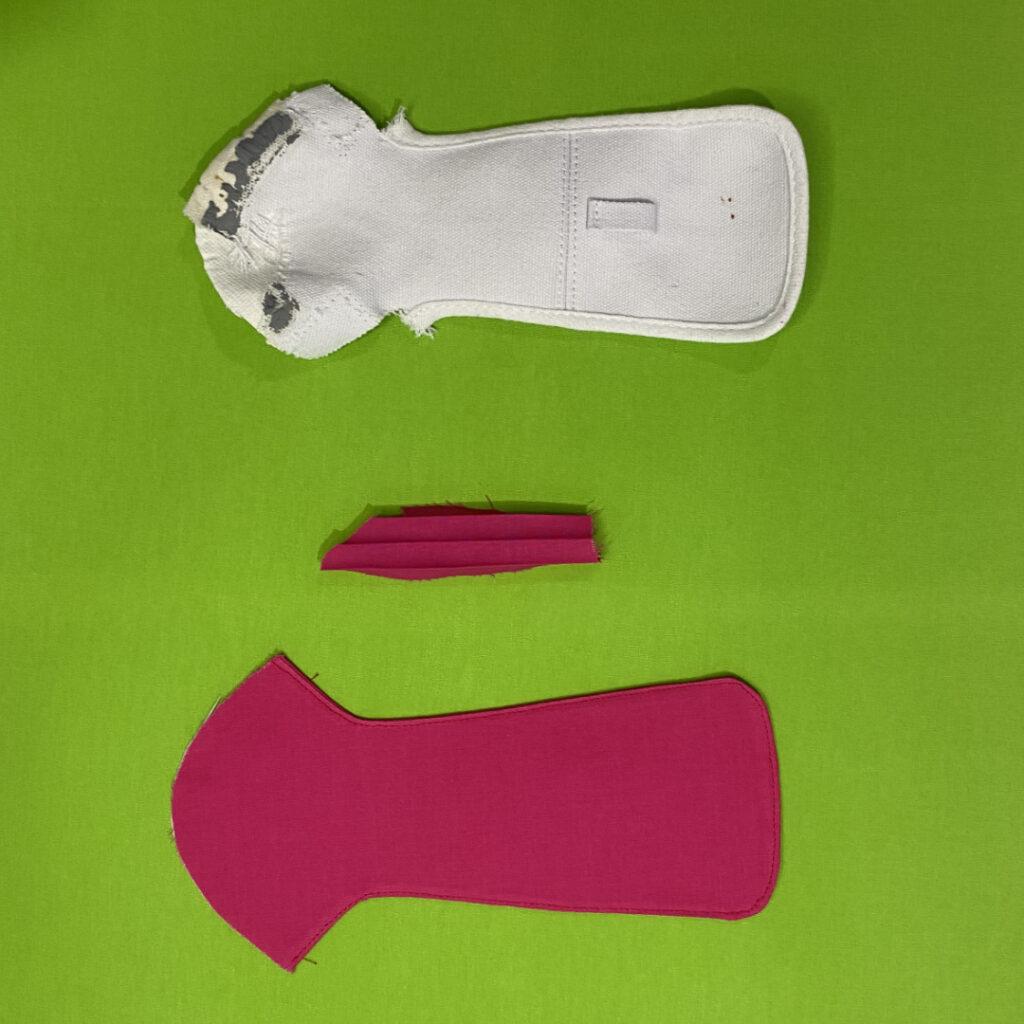
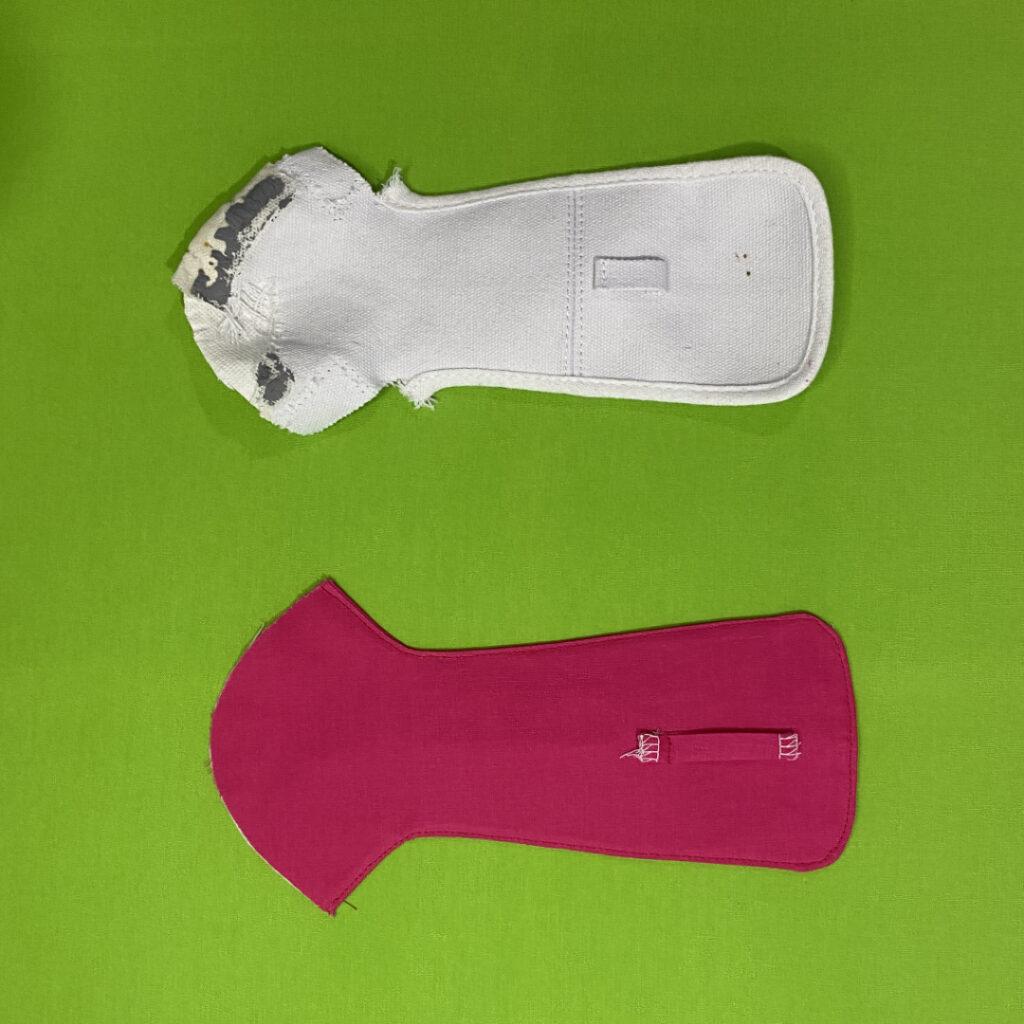
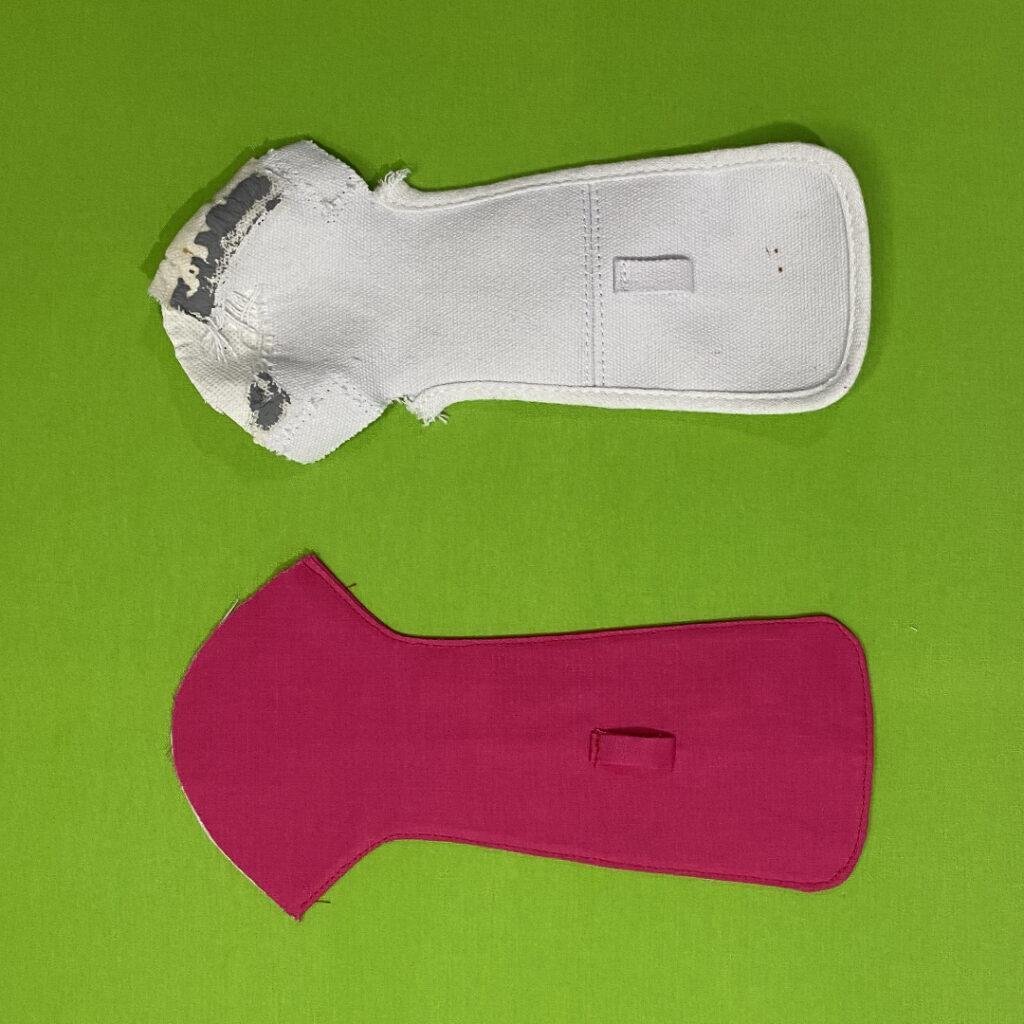
STEP 15 – ASSEMBLE THE SHOE
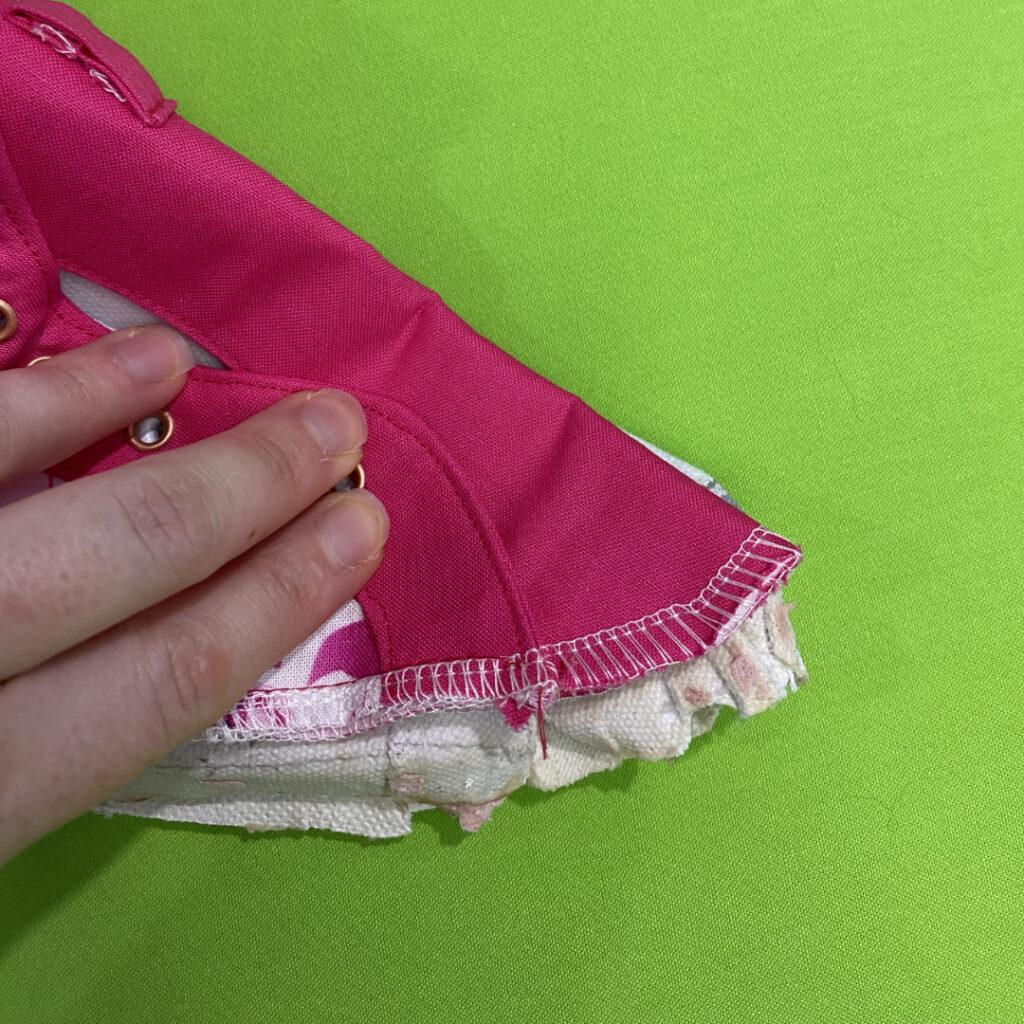
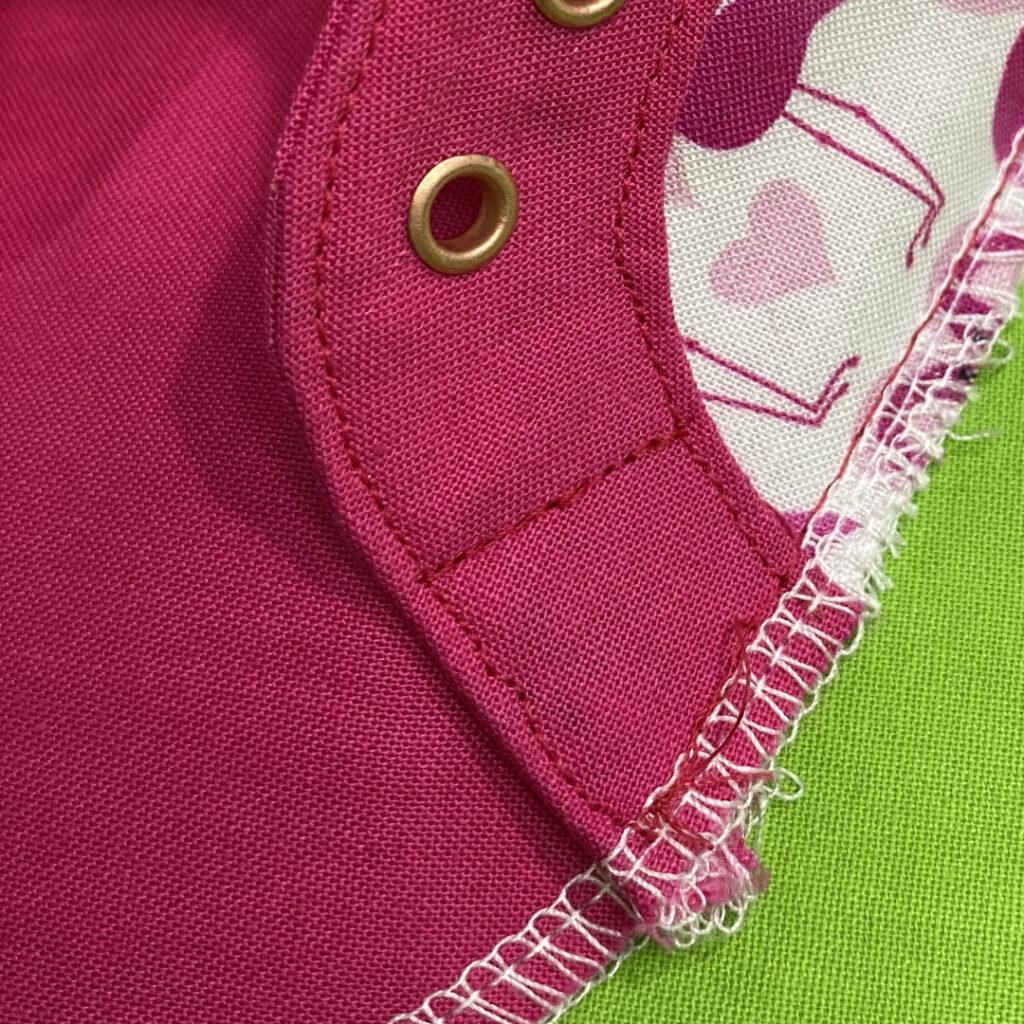
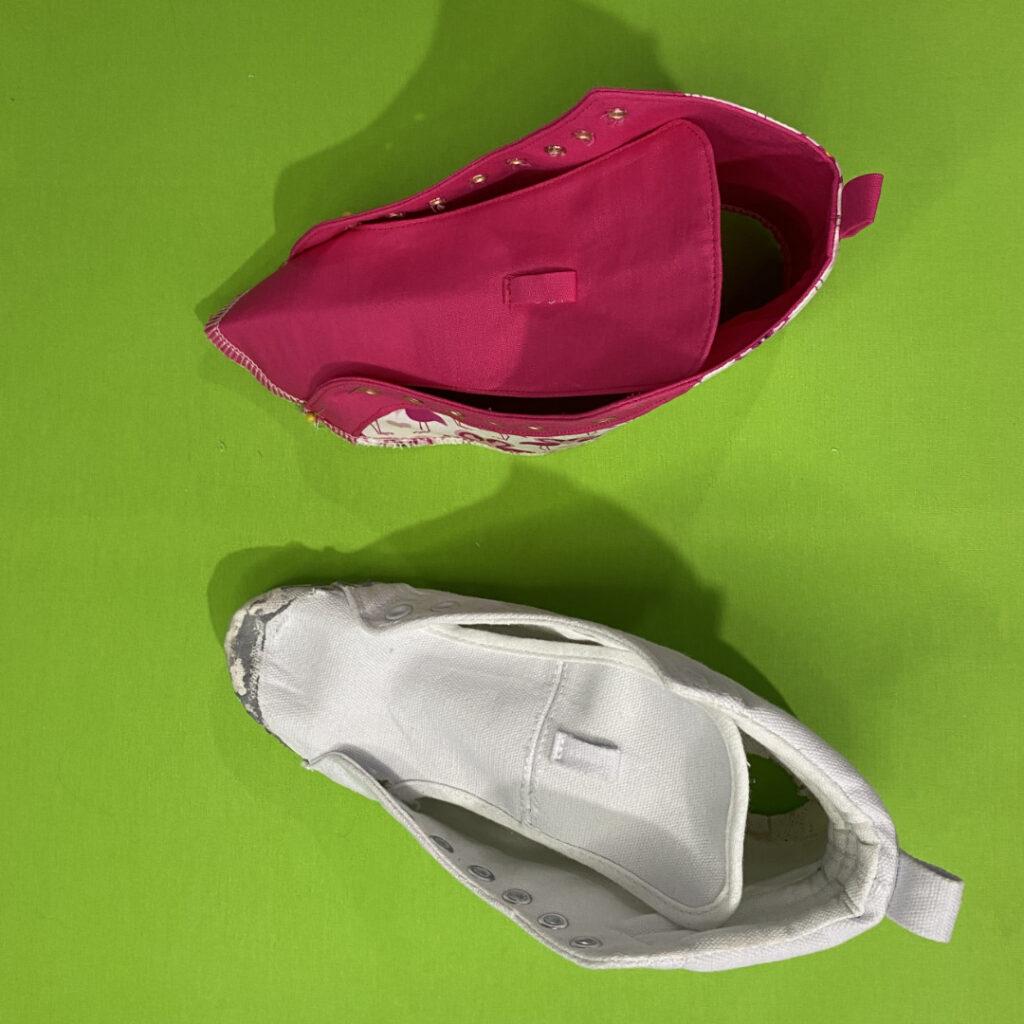
STEP 16 – ATTACH THE SHOE TO THE SOLE
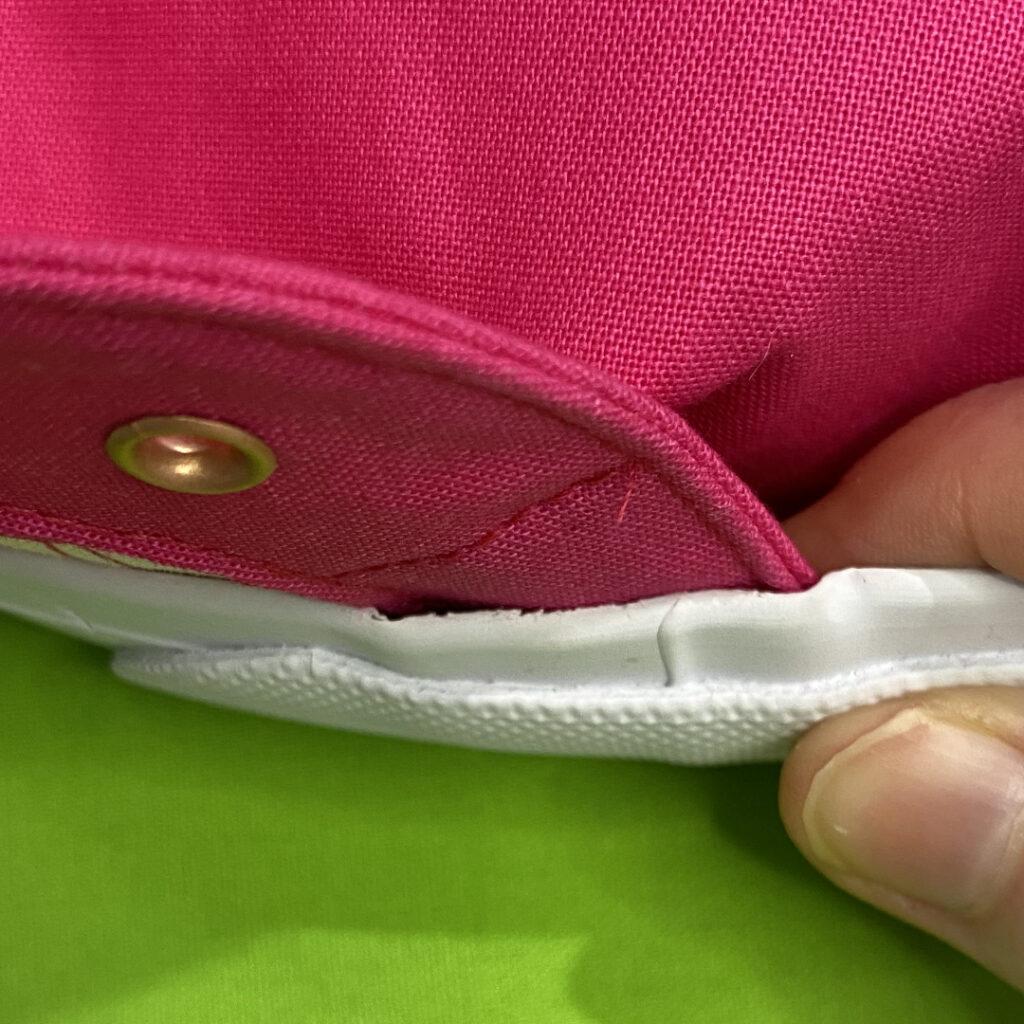
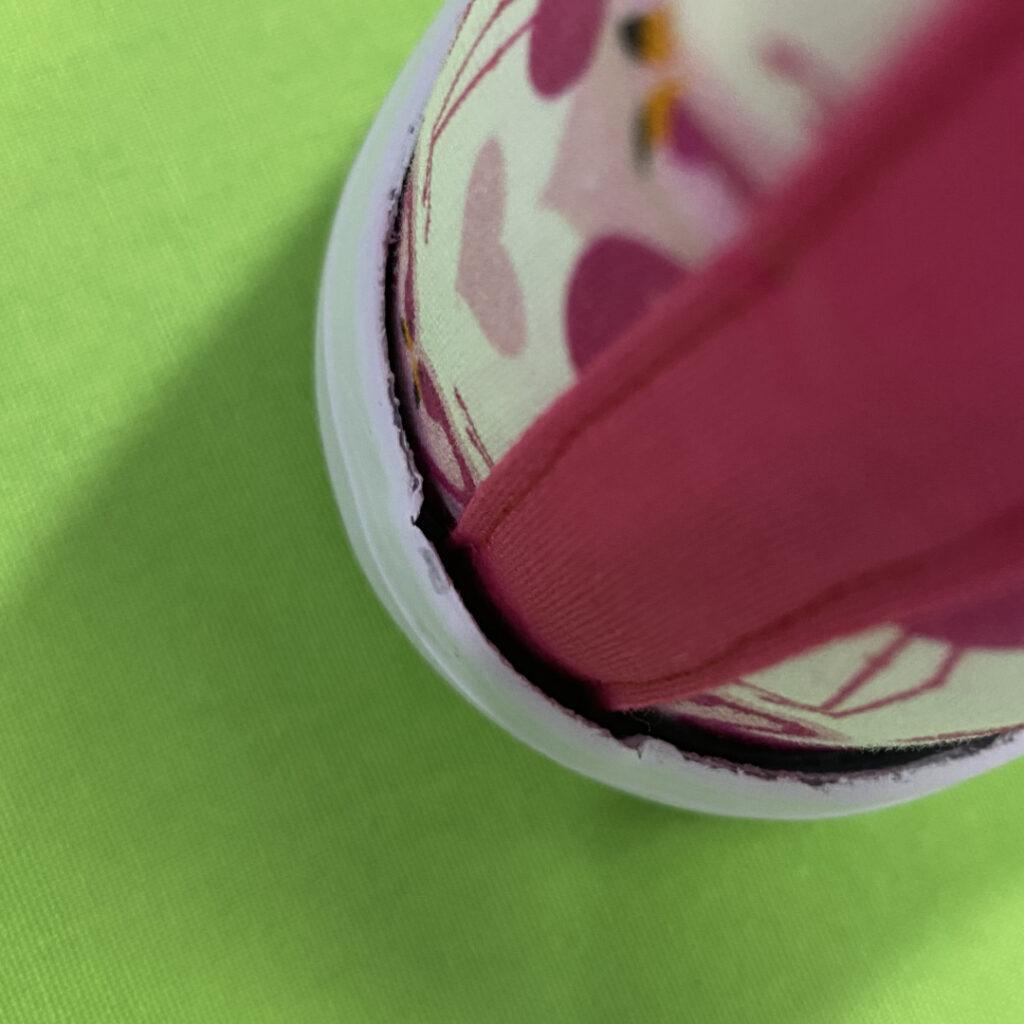
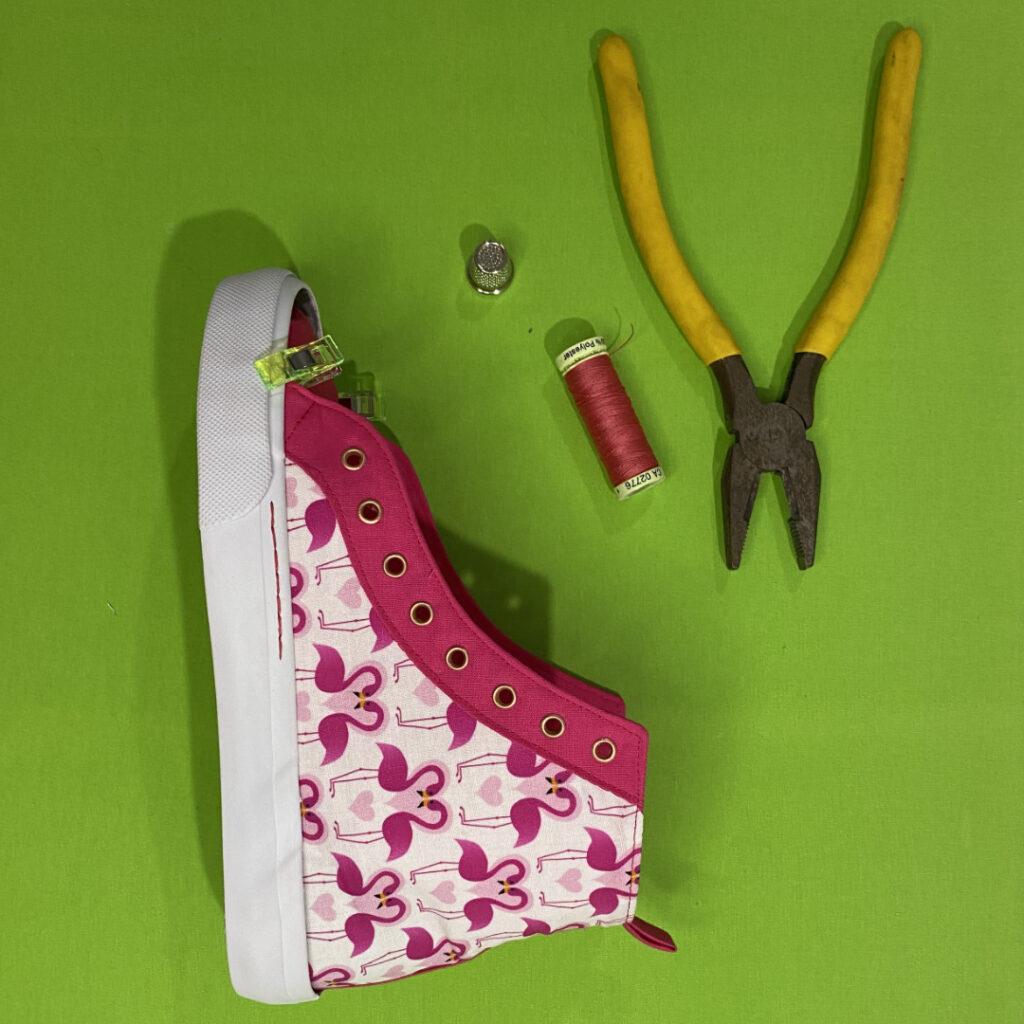
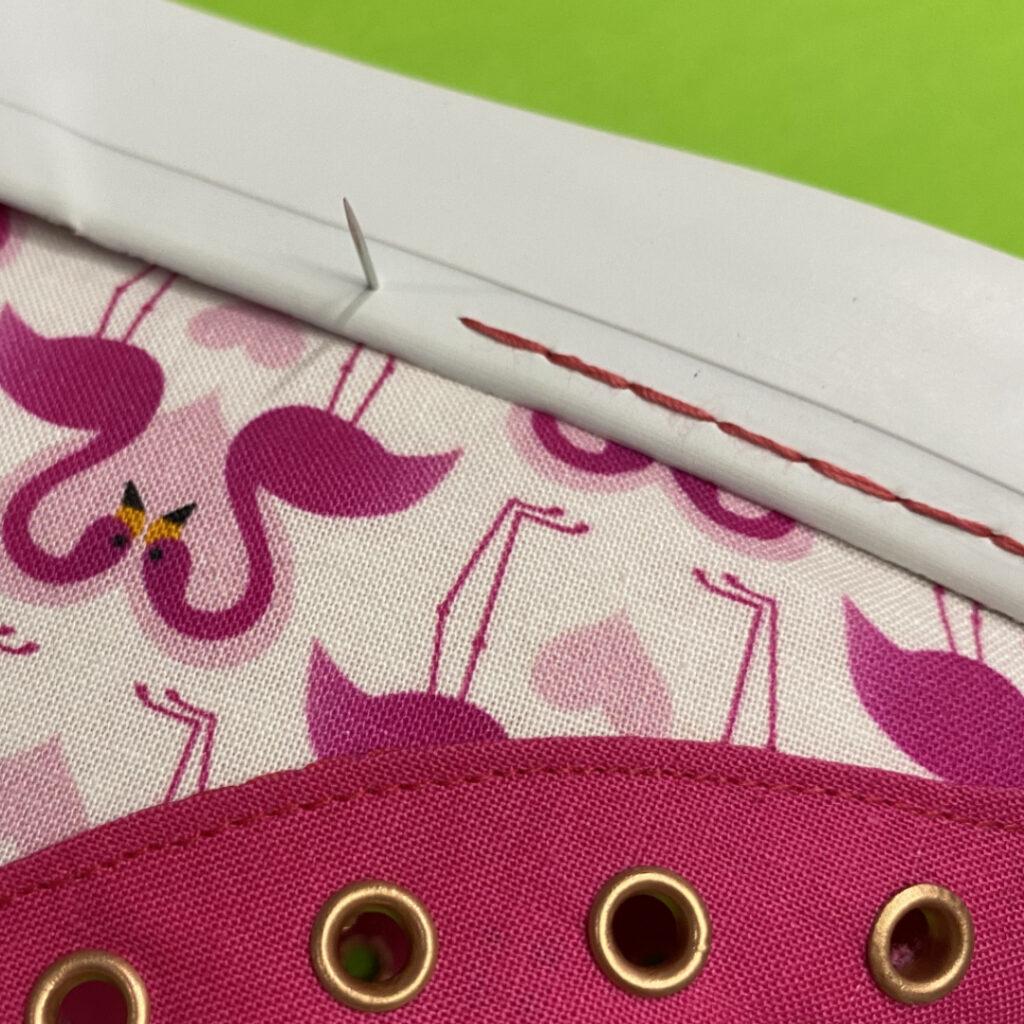
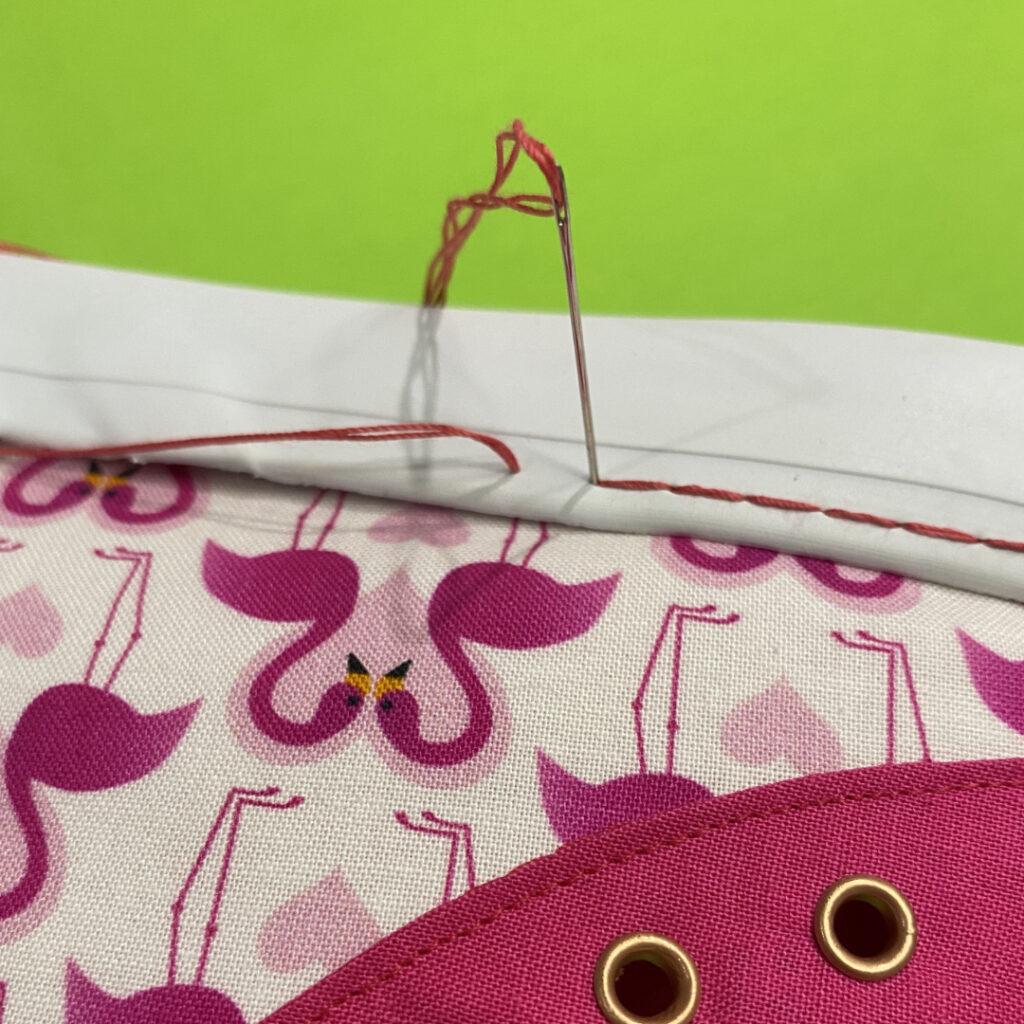
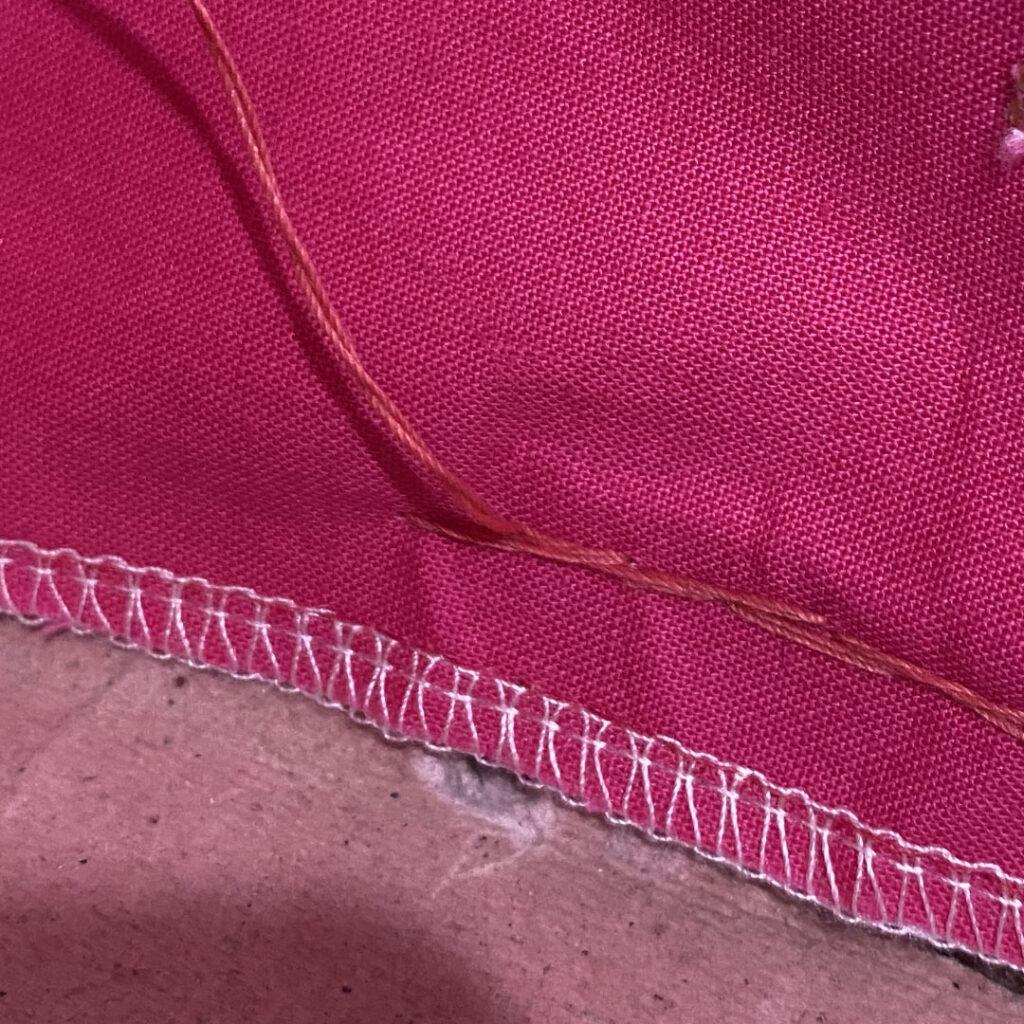
BACK STITCH
Back stitch is a strong, durable sewing technique and is perfect for shoe making.
Congratulations! You have just finished creating your very own pair of shoes.
We would love to see your creations in our facebook group Twine Tree Tribe. Don’t hesitate to share your masterpiece and show off your hard work.
Thank you for supporting small, handmade business like ours. We truly appreciate your support.
