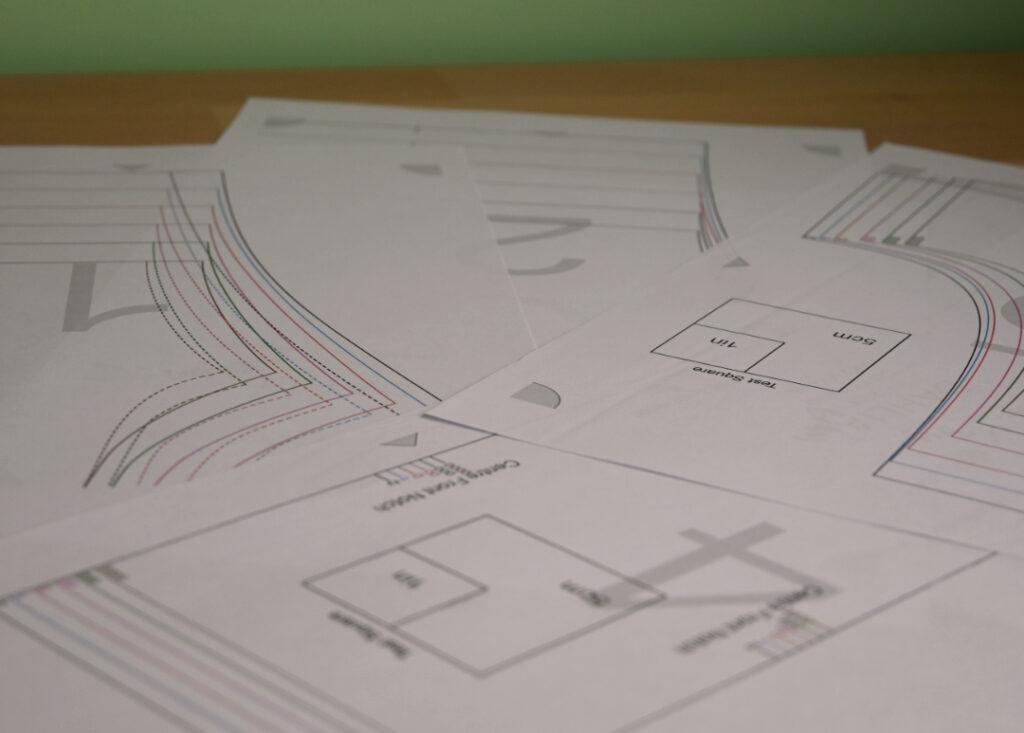
PDF sewing patterns are becoming increasingly popular in the sewing community. They are convenient, cost-effective, and can be downloaded instantly. However, many people find the process of printing and assembling PDF patterns daunting, especially if they are new to using them. In this blog post, we will guide you through the steps of printing and assembling your PDF sewing patterns.
The first step is to download the pattern you want to use and save it to your computer. Many patterns will include a few different formats, so make sure you choose the correct one for printing at home, which will be A4 or Letter, depending on where you are located. All Twine Tree patterns include a projector file for those who own a projector, an A0 file for those who prefer to take their pattern to a copy shop for large format printing, and an A4/Letter file.
Once you have saved the file, open it with a PDF reader such as Adobe Reader. You can use any PDF reader, but if the pattern you have purchased includes layers, you will need Adobe Reader if you would like to use this function. This can be downloaded for free from Adobe.
All Twine Tree patterns include the optional layers function.
Before printing, take a look at your pattern instructions to see if there is any further information provided. Some patterns will include the page numbers to print for the size or view you are planning to make. This is particularly useful for large patterns. If you are using a Twine Tree pattern, you will find this on the printing instruction page of your instruction document.
Before printing, make sure you have selected the correct paper size (A4 or Letter) and set the scaling to 100%. You can find these options in the print settings. It’s essential to print the pattern at 100% to ensure that the pieces fit together correctly.
Once you have selected the settings, print a test page to ensure that the pattern has printed correctly. Check that the test square on the pattern matches the dimensions given in the instructions. If the square is the correct size, you’re ready to print the rest of the pattern.
After printing, you’ll have several pages that need to be assembled. Most PDF patterns include a layout guide that shows how to arrange the pages correctly. Usually, the pages are numbered, and there are marks to show where they should be joined together.
To assemble the pattern, cut off the margins on one long side and one short side of each page. Ensure you cut all pages the same, for example, cut the left-hand side and the top off each page.
Align the edges, and tape or glue the pieces together. We recommend using a clear tape, so you can see the lines on the pattern through the tape.
Start by assembling the top row of pages, then move on to the next row, and so on until you have assembled the entire pattern. Make sure the pages are aligned correctly, and the lines on the pattern match up.
Once you have assembled the pattern, it’s time to cut out the pieces. Use scissors to cut out each piece along the lines. Make sure to cut accurately, as this will affect the fit of your garment.
Before sewing, mark any notches, darts, and other pattern markings on your fabric. You can use tailor’s chalk, a fabric marker, or pins to mark these points.
Now that you have your pattern pieces cut out and marked, you’re ready to start sewing! Follow the instructions provided with the pattern and remember to take your time and sew carefully.
Printing and assembling PDF sewing patterns may seem daunting at first, but with a little practice, it becomes much more comfortable. Remember to check your print settings, assemble the pattern carefully, and cut accurately. Once you have your pattern pieces, take your time and enjoy the process of sewing your new garment. Happy sewing!
